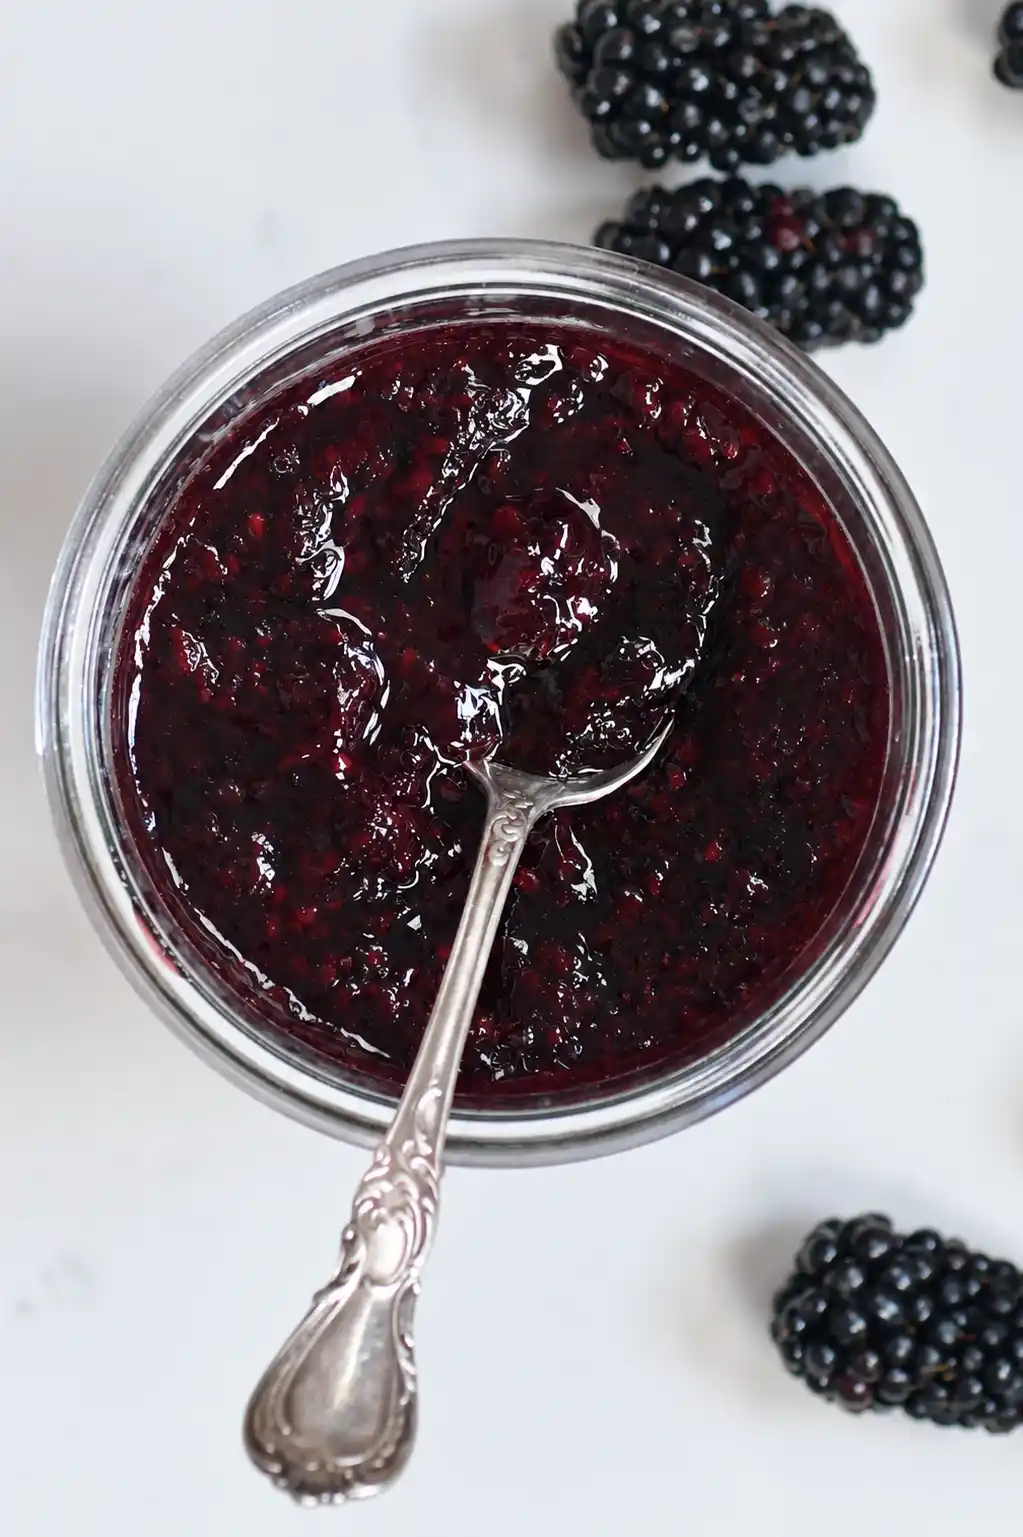
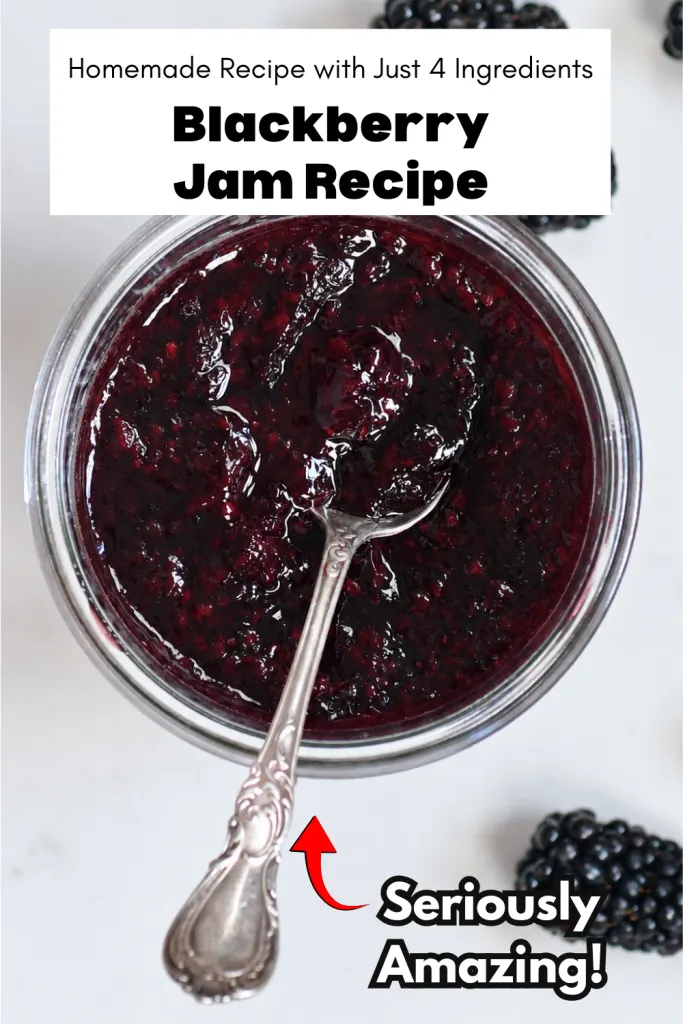
Blackberry Jam Recipe (Easy Homemade Recipe with Just 4 Ingredients)
There is something special about homemade blackberry jam. It captures the sweet, rich flavor of fresh blackberries and turns it into a spread that’s perfect for toast, biscuits, pancakes, yogurt, desserts, and even cheeseboards. Unlike many store-bought jams, this recipe lets the natural berry flavor shine while creating a beautifully thick consistency that’s easy for beginners to master.
Using only four simple ingredients, this blackberry jam comes together in about 20 minutes. Whether you want to enjoy it right away, freeze it for later, or preserve it using the water-bath canning method, this recipe delivers consistent results every time.
Why You’ll Love This Blackberry Jam
- Only four pantry-friendly ingredients
- Ready in about 20 minutes
- Beginner-friendly instructions
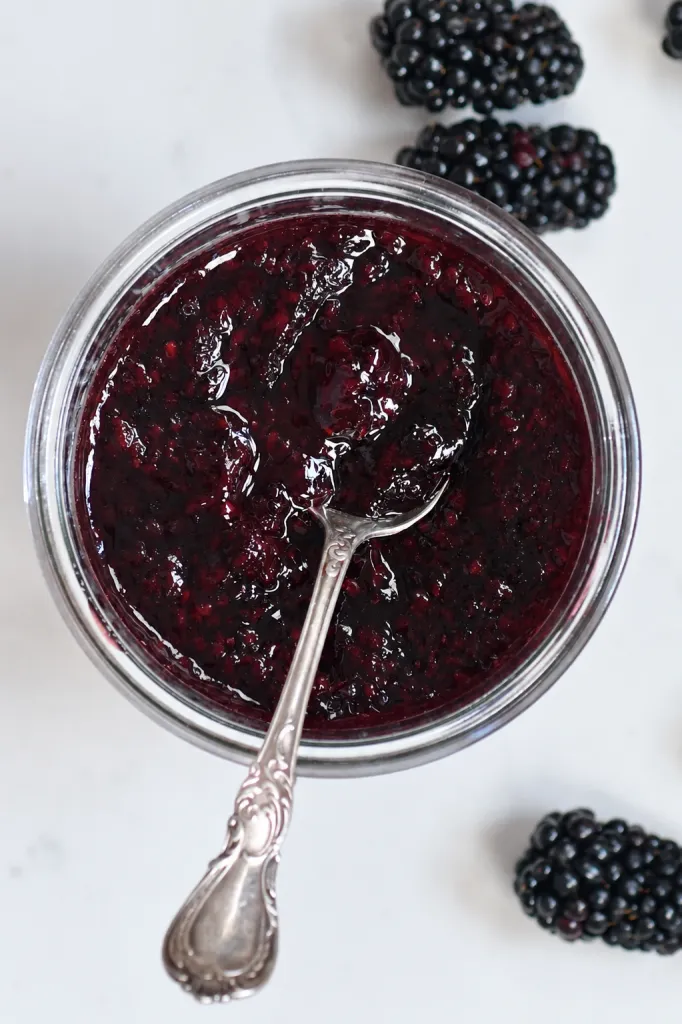
- Rich blackberry flavor with a glossy finish
- Perfect for refrigerator, freezer, or pantry storage after canning
- Great for gifting during berry season
Equipment
- 7 sterilized canning jars (8 oz / 250 ml)
- Heavy-bottom stainless steel saucepan
- Silicone spatula or wooden spoon
- Potato masher
- Ladle (helpful for filling jars)
- Jar funnel (optional but recommended)
- Water-bath canner (optional for long-term storage)
Ingredients
- 3.2 pounds fresh blackberries (about 10 cups whole or 5 cups crushed)
- 3.3 pounds white granulated sugar (7 cups)
- ¼ cup fresh or bottled lemon juice (optional)
- 6 tablespoons powdered pectin or liquid pectin
Before You Start
A little preparation makes jam-making much easier.
- Wash the berries gently under cool running water.
- Remove any stems, leaves, or damaged berries.
- Sterilize your jars, lids, and utensils before filling them.
- Measure every ingredient before turning on the heat since jam cooks quickly.
Instructions
Step 1: Prepare the Jars
Wash jars, lids, and bands in hot, soapy water and rinse thoroughly. Sterilize them according to safe canning guidelines. If you plan to water-bath can the jam, prepare your canner while making the jam so everything is ready.
Method 1: Using Powdered Pectin
- Lightly crush the washed blackberries using a potato masher. Leaving some larger fruit pieces creates a pleasant homemade texture.
- Mix the powdered pectin evenly into the crushed berries.
- Add the lemon juice and stir well.
- Transfer the berry mixture to a heavy saucepan.
- Bring to a boil over high heat, stirring frequently until the pectin dissolves completely.
- Add all the sugar at once and stir continuously.
- Bring the mixture to a full rolling boil that cannot be stirred down.
- Continue boiling for exactly 1 minute while stirring constantly.
- Remove from the heat and skim off any foam from the surface using a spoon.
Method 2: Using Liquid Pectin
- Lightly mash the washed blackberries.
- Combine the berries, sugar, and lemon juice in a heavy saucepan.
- Bring to a rolling boil over high heat while stirring constantly.
- Stir in the liquid pectin.
- Continue boiling for 1 minute, stirring continuously.
- Remove from the heat and skim off any foam before filling the jars.
Fill the Jars
- Place warm jars on a heat-safe surface.
- Carefully ladle the hot jam into the jars, leaving ¼ inch (0.5 cm) of headspace.
- Wipe the rims clean with a damp cloth.
- Secure the lids until fingertip-tight.
At this point, the jam is ready for refrigeration or freezing if you do not plan to can it.
Optional Water-Bath Canning
If you’d like shelf-stable jam:
- Place a rack in the bottom of the canner.
- Fill with enough water to cover the jars by about 2 inches.
- Bring the water to a gentle boil.
- Keep the empty jars warm until filling.
- Fill jars with jam, leaving ¼ inch headspace.
- Remove trapped air bubbles using a non-metal utensil.
- Wipe the rims clean and apply the lids.
- Tighten the bands until fingertip-tight.
- Lower the jars into the boiling water.
- Process for approximately 10 minutes (processing times may vary depending on altitude).
- Turn off the heat and allow the jars to sit in the canner for 5 minutes.
- Remove the jars and let them cool undisturbed for 12–24 hours.
A properly sealed lid will be slightly concave and should not flex when pressed in the center.
Chef’s Tips for the Best Blackberry Jam
Don’t over-crush the berries
Keeping some larger blackberry pieces creates a more rustic texture and bursts of fruit in every spoonful.
Use a heavy-bottomed pan
A thick pan distributes heat evenly and helps prevent scorching as the sugar cooks.
Stir constantly after adding sugar
Sugar can settle quickly and burn on the bottom if left unattended.
Skim the foam
Removing foam creates a clearer, more attractive jam and improves the finished appearance in the jars.
Cook only until the recipe specifies
Overcooking can make jam stiff after cooling, while undercooking may leave it runny.
Fill warm jars
Adding hot jam to warm jars helps reduce the risk of thermal shock and promotes a better seal during canning.
How to Tell When Blackberry Jam Is Ready
Besides following the cooking time, the jam should:
- Reach a vigorous rolling boil.
- Coat the back of a spoon more heavily than syrup.
- Begin looking glossy and slightly thicker.
- Continue thickening as it cools completely.
Remember that freshly cooked jam always appears thinner than its final texture.
Storage
Refrigerator: Up to 3 weeks after opening or making.
Freezer: Up to 6 months in freezer-safe containers, leaving space for expansion.
Water-Bath Canned: Properly sealed jars can be stored in a cool, dry pantry for up to 18 months.
After opening any jar, refrigerate and enjoy within 3 weeks.
Serving Ideas
Homemade blackberry jam pairs wonderfully with:
- Buttered toast
- Fresh biscuits
- English muffins
- Pancakes and waffles
- Yogurt parfaits
- Oatmeal
- Cheesecake topping
- Thumbprint cookies
- Peanut butter sandwiches
- Charcuterie boards with soft cheeses
Final Thoughts
This homemade blackberry jam is a simple recipe that produces rich berry flavor with a beautifully spreadable texture. The combination of fresh blackberries, sugar, pectin, and optional lemon juice creates a classic preserve that’s perfect for beginners and experienced home cooks alike. Whether you enjoy it fresh from the refrigerator or preserve several jars for the months ahead, this recipe is an excellent way to make the most of blackberry season.