Salted Caramel Cookies Recipe
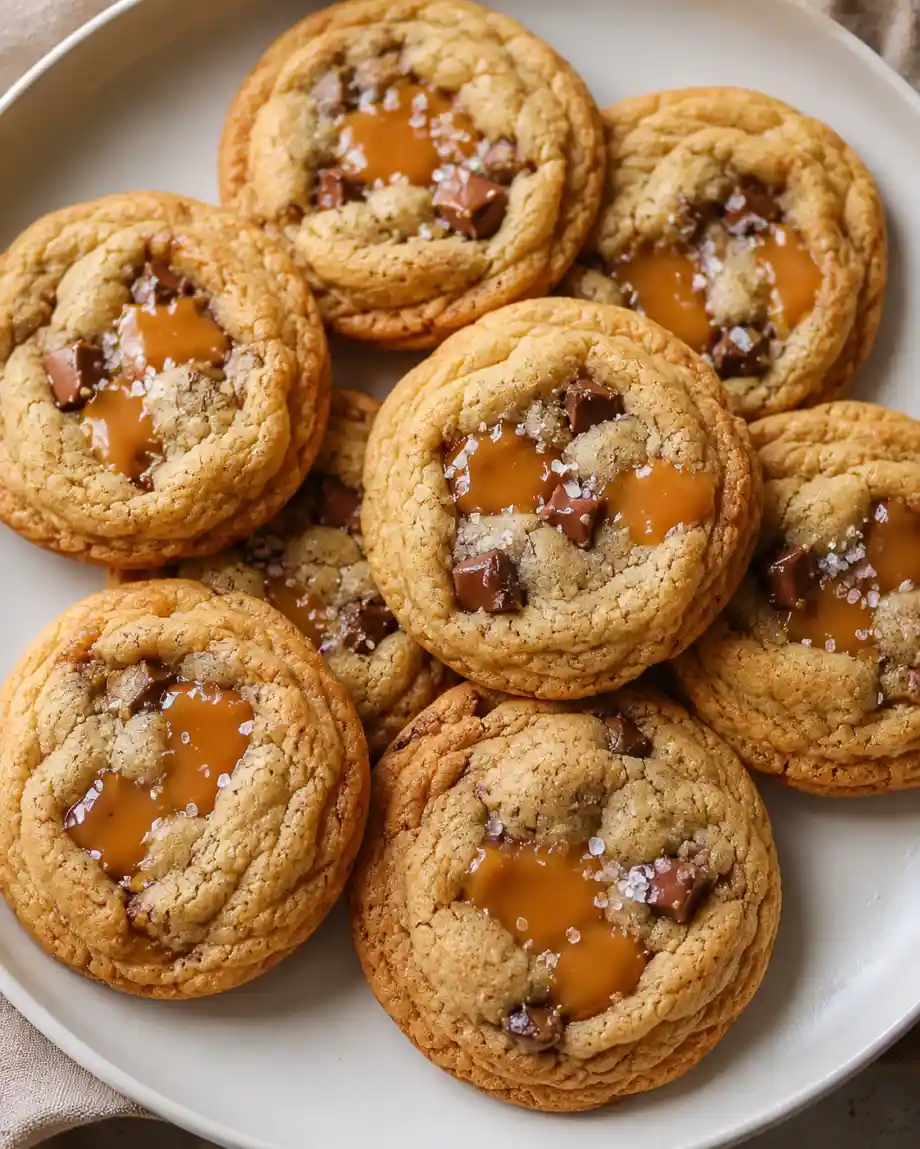
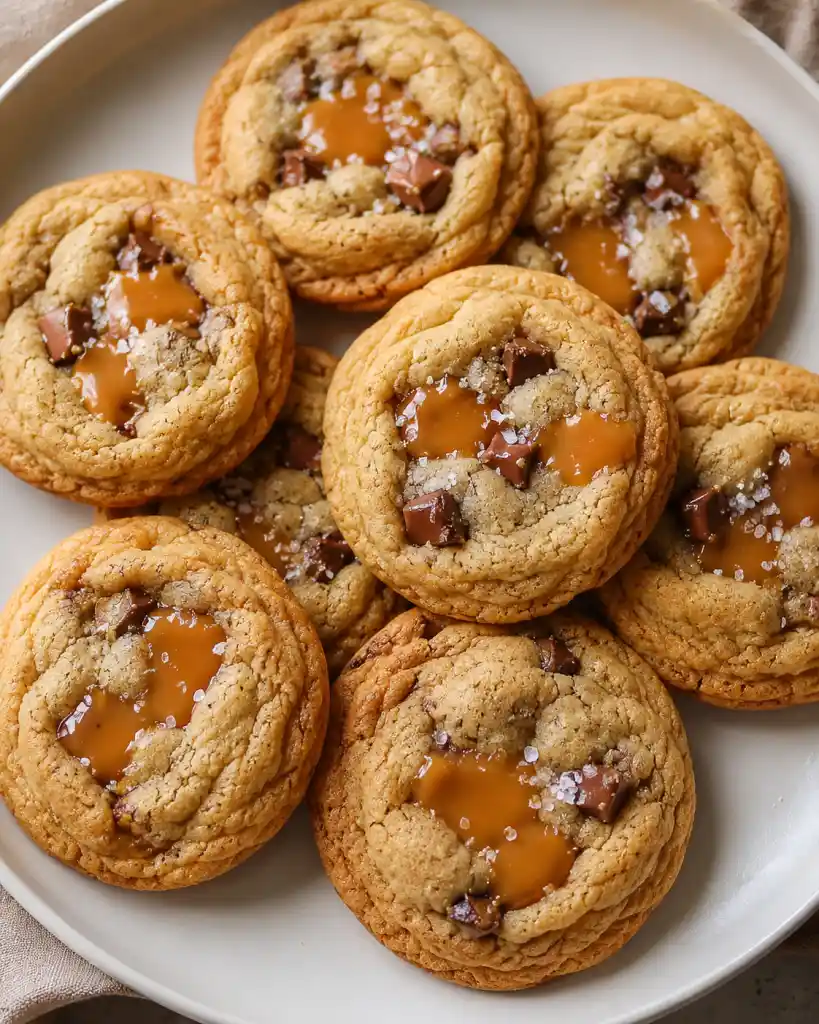
There’s something irresistible about a warm cookie filled with gooey salted caramel. These Salted Caramel Cookies have crisp golden edges, soft and chewy centers, and a rich caramel filling that melts with every bite. A light sprinkle of flaky sea salt balances the sweetness and brings out the buttery flavor of the dough.
Whether you’re baking for a family gathering, holiday dessert table, or simply satisfying a cookie craving, this recipe delivers bakery-style results right at home.
Why You’ll Love These Cookies
- Soft and chewy texture
- Rich buttery flavor
- Gooey salted caramel center
- Easy-to-follow method
- Optional chocolate chunks for extra indulgence
- Perfect balance of sweet and salty
Ingredients
For the Cookie Dough
- 1 cup unsalted butter, softened
- 3/4 cup granulated sugar
- 3/4 cup light brown sugar
- 2 large eggs
- 1 teaspoon pure vanilla extract
- 2 1/4 cups all-purpose flour
- 1 teaspoon baking soda
- 1/2 teaspoon fine sea salt
- 1 cup chocolate chips or chunks (optional)
For the Salted Caramel Filling
- 1 cup granulated sugar
- 1/4 cup water
- 1/2 cup heavy cream
- 2 tablespoons unsalted butter
- 1/2 teaspoon fine sea salt
You can also use store-bought salted caramel if preferred.
Before You Start
A few simple steps make a big difference:
- Allow the butter and eggs to come to room temperature.
- Make sure the caramel is completely cooled before filling the cookies.
- Chilling the dough helps prevent spreading and creates a thicker, chewier cookie.
- Line baking sheets with parchment paper for easy cleanup and even baking.
How to Make Salted Caramel Cookies
Step 1: Make the Salted Caramel
In a heavy-bottomed saucepan, combine the granulated sugar and water over medium heat. Stir only until the sugar dissolves.
Once the mixture begins to boil, stop stirring. Allow it to cook undisturbed, occasionally swirling the pan, until the syrup turns a deep amber color. This usually takes about 8–10 minutes.
While the sugar cooks, warm the heavy cream and butter in a separate saucepan until steaming but not boiling.
Remove the amber caramel from the heat and slowly pour in the warm cream mixture while whisking continuously. The caramel will bubble vigorously, so work carefully.
Whisk until smooth, then stir in the sea salt.
Transfer the caramel to a heatproof bowl and allow it to cool completely. The caramel should become thick enough to scoop. If it remains too loose, place it in the refrigerator for a short time.
Step 2: Cream the Butter and Sugars
In a large mixing bowl, beat together the softened butter, granulated sugar, and brown sugar until light and fluffy, about 2–3 minutes.
This step helps create the soft texture that makes these cookies so delicious.
Step 3: Add the Eggs and Vanilla
Add the eggs one at a time, mixing well after each addition.
Stir in the vanilla extract until fully incorporated.
Step 4: Mix the Dry Ingredients
In a separate bowl, whisk together:
- All-purpose flour
- Baking soda
- Fine sea salt
Whisking ensures the leavening and salt are evenly distributed throughout the dough.
Step 5: Combine Wet and Dry Ingredients
Gradually add the dry mixture to the butter mixture while mixing on low speed.
Mix only until the flour disappears. Overmixing can develop excess gluten and result in tougher cookies.
Step 6: Add Chocolate (Optional)
Fold in the chocolate chips or chunks using a spatula until evenly distributed throughout the dough.
The chocolate pairs beautifully with the caramel filling, adding another layer of richness.
Step 7: Chill the Dough
Cover the bowl and refrigerate for at least 30 minutes or up to 2 hours.
Chilling helps:
- Prevent excessive spreading
- Improve flavor
- Create thicker cookies
- Make stuffing easier
Step 8: Prepare for Baking
Preheat the oven to 375°F (190°C).
Line two baking sheets with parchment paper or silicone baking mats.
Step 9: Fill and Shape the Cookies
Scoop about 1½ tablespoons of chilled dough and flatten it gently in your hand.
Place approximately 1 teaspoon of cooled salted caramel in the center.
Carefully wrap the dough around the caramel and seal completely. Check for cracks or openings, as caramel can leak during baking.
Place the dough balls on the prepared baking sheets, leaving about 2 inches between each cookie.
Step 10: Bake
Bake one tray at a time for 10–12 minutes.
The cookies are ready when:
- The edges are lightly golden brown
- The centers still appear slightly soft
Avoid overbaking. The cookies will continue setting as they cool.
Step 11: Finish with Flaky Sea Salt
As soon as the cookies come out of the oven, sprinkle a few flakes of flaky sea salt over each one.
This finishing touch enhances both the caramel and butter flavors while creating the classic sweet-and-salty contrast.
Step 12: Cool Before Serving
Allow the cookies to cool on the baking sheet for 5 minutes before transferring them to a wire rack.
The caramel center will be extremely hot immediately after baking, so give the cookies time to cool before enjoying.
Chef’s Tips for Success
- Use softened butter, not melted butter, for the best texture.
- Cool the caramel completely before filling the cookies.
- Seal the dough thoroughly around the caramel to prevent leaks.
- Bake one tray at a time for more even results.
- If the dough becomes sticky while working, return it to the refrigerator for 10–15 minutes.
- Slightly underbaked cookies stay softer and chewier after cooling.
Storage
Room Temperature
Store in an airtight container for up to 4 days.
Refrigerator
Store for up to 1 week. Allow cookies to come to room temperature before serving.
Freezer
Freeze baked cookies in a sealed container for up to 3 months. Thaw at room temperature and warm briefly before serving.
Final Thoughts
These Salted Caramel Cookies combine everything cookie lovers crave: buttery dough, soft centers, rich caramel filling, and a touch of flaky sea salt. The result is a bakery-style cookie with an incredible balance of flavors and textures that keeps everyone reaching for another.