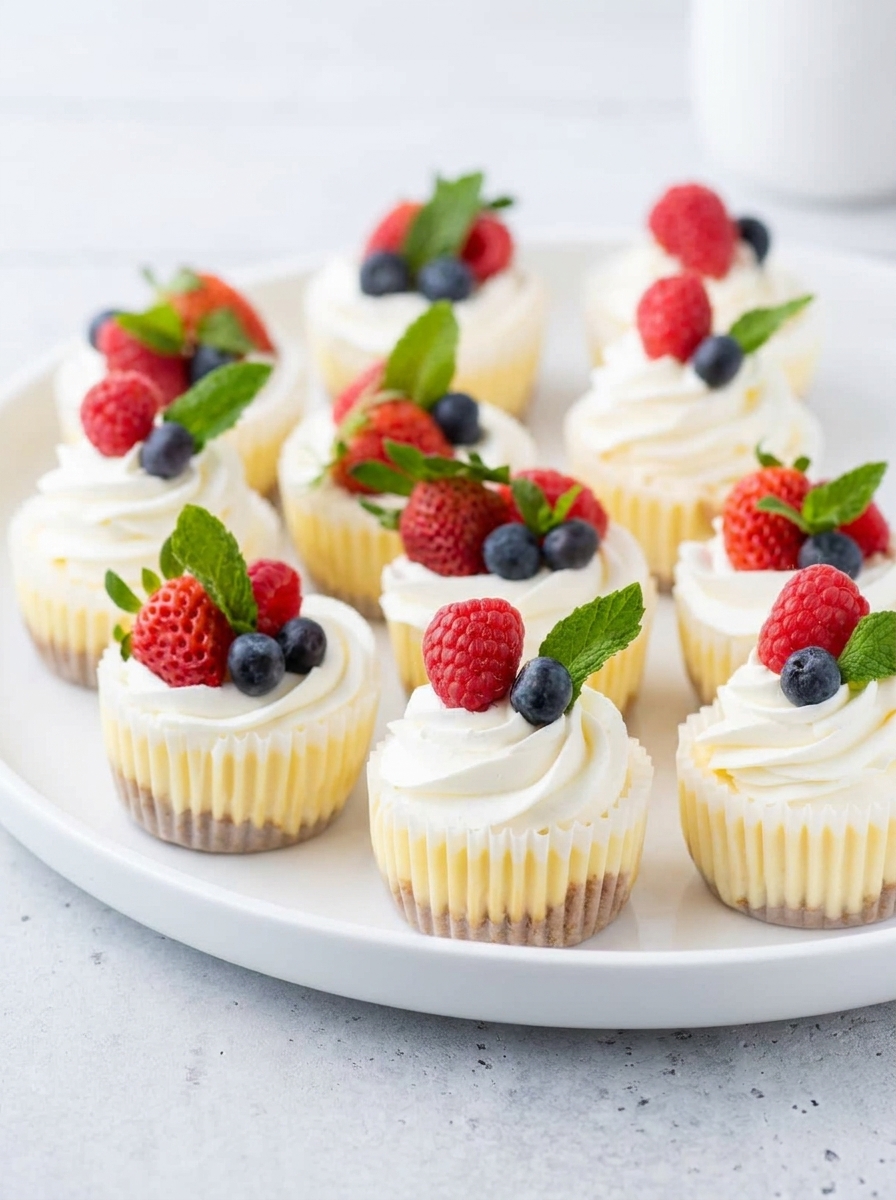
Mini Cheesecake Cups That Are Impossibly Creamy
I’ll be honest — cheesecake used to stress me out. The water bath, the cracking, the two hours of baking, and then the waiting. Then I started making mini versions and genuinely never looked back. These little cups are my favorite summer dessert — they bake in about 15 minutes flat, chill way faster than a full-sized cheesecake, and come out smooth and rich every single time. If you’re looking for a summer dessert recipe that doesn’t involve standing over a hot oven all day, this is exactly it. I make them whenever I’m hosting and want something impressive without the stress.
There’s no complicated technique here and no special equipment — just a standard muffin tin and a hand mixer. What I love most is how versatile they are. I’ve topped these with fresh berries, salted caramel, crushed Oreos, and chocolate ganache depending on the occasion. The base recipe carries every single one of those toppings beautifully.
If you’ve never made cheesecake before, start here. And if you have made cheesecake before and had it crack on you — this one’s your redemption arc.
Why This Recipe Works
The mini format solves most of the problems that make traditional cheesecake frustrating. Because the portions are small, they bake faster, cool faster, and don’t need a water bath to stay crack-free. Each cup is its own individual portion, which also means no messy slicing and no worrying about the first piece falling apart.
The real key is room-temperature ingredients and a light hand once the eggs go in. Overmixing at that stage traps air that expands in the oven and then collapses as the cheesecakes cool — that’s what causes sunken centers and cracks. The technique here is simple, but it matters.
Mini Cheesecake Cups
Cooking Advice
I pull my cream cheese and eggs out of the fridge about 45 minutes before I start. Cold cream cheese will leave lumps in the batter no matter how long you mix it. I’ve rushed this step before — the batter looked fine going in, but the finished cheesecakes had tiny grainy spots. Not worth it.
For the crust, I press it down firmly with the flat bottom of a measuring cup to get an even, compact layer that won’t crumble when you pick one up. I also pre-bake the crust for just 5 minutes before adding the filling. It firms it up and adds a subtle toasty flavor that really balances the rich filling.
Once I add the eggs, I beat just until the yolk disappears. That’s it. I learned the hard way on my third batch that overbeating at this stage is the main reason cheesecakes crack and sink. You don’t need to be nervous about it — just stop mixing as soon as it’s combined and you’ll be fine.
Ingredients Needed
For the Crust
- Graham cracker crumbs (1½ cups / about 12 full graham cracker sheets) — pulse whole crackers in a food processor or buy pre-made crumbs. Oreos, vanilla wafers, or ginger snaps all work great as swaps.
- Unsalted butter, melted (5 tablespoons / 70g) — holds the crust together. Salted butter works too, just skip any added salt.
For the Filling
- Full-fat cream cheese, bars only (16 oz / 452g, softened to room temperature) — must be at room temperature. Tub-style cream cheese is too soft and won’t set properly.
- Granulated sugar (½ cup / 100g)
- Vanilla extract (1 teaspoon) — pure vanilla over imitation. In a simple recipe like this, you’ll actually taste the difference.
- Eggs, room temperature (2 large eggs) — room temp eggs blend in more smoothly and don’t shock the batter.
For the Topping
- Whipped cream (1 cup, for serving) — homemade, canned, or frozen. Frozen whipped topping holds up best if you’re assembling the day before serving.
- Fresh fruit (1 to 1½ cups total) — berries are the classic move, but sliced peaches in summer or pomegranate arils in fall are really beautiful too.
Step-by-Step Instructions
Step 1: Prep the oven and pan
Preheat to 350°F and line a standard 12-cup muffin tin with paper liners. Don’t skip the liners — getting these out cleanly without them is a real headache and you’ll lose some of the crust.
Step 2: Mix and press the crust
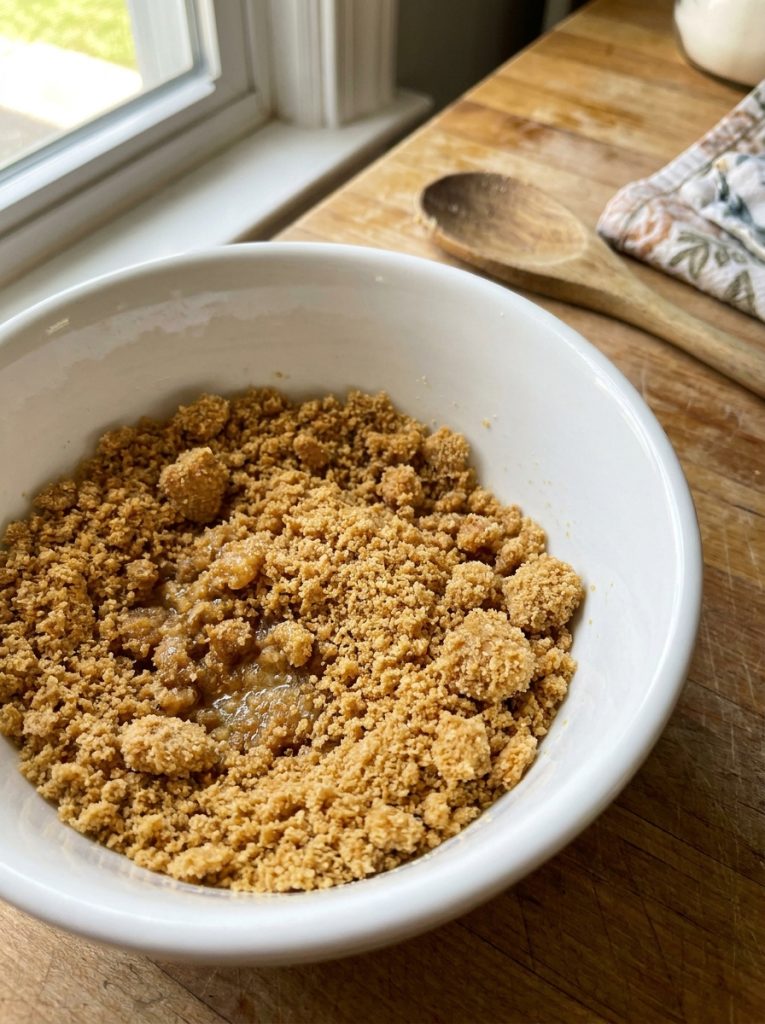
Stir the graham cracker crumbs and melted butter together until the mixture looks like damp sand. Press 1 to 2 tablespoons into each liner, tamping it down firmly with the flat bottom of a measuring cup so it’s even and compact.
Step 3: Pre-bake the crusts
Bake the crust-lined tin for 5 minutes, then set it aside to cool while you make the filling. This short bake firms the crust up and adds a subtle nutty flavor I really like.
Step 4: Beat the cream cheese and sugar
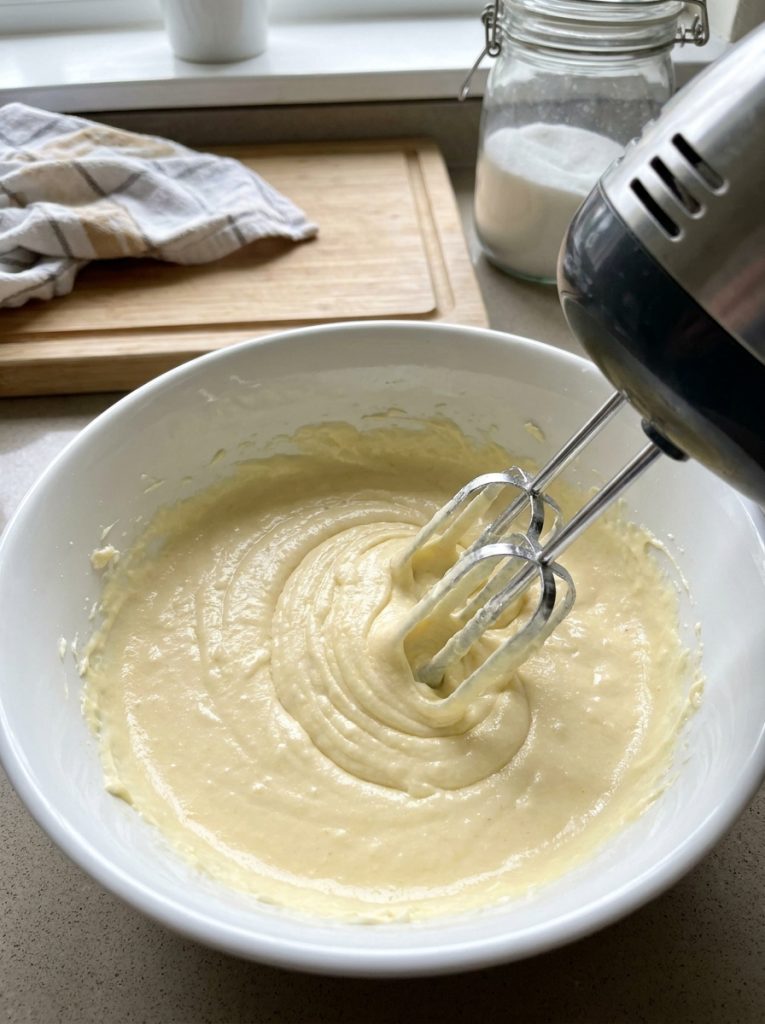
In a mixing bowl, beat the room-temperature cream cheese and sugar with a hand mixer for about 1 to 2 minutes until the mixture is completely smooth. This is where the texture foundation gets set — don’t rush past any lumps.
Step 5: Add vanilla and eggs
Beat in the vanilla extract, then add the eggs one at a time. Mix only until each yolk disappears — seriously, stop right there. This is the step where less is genuinely more.
Step 6: Fill the cups and bake
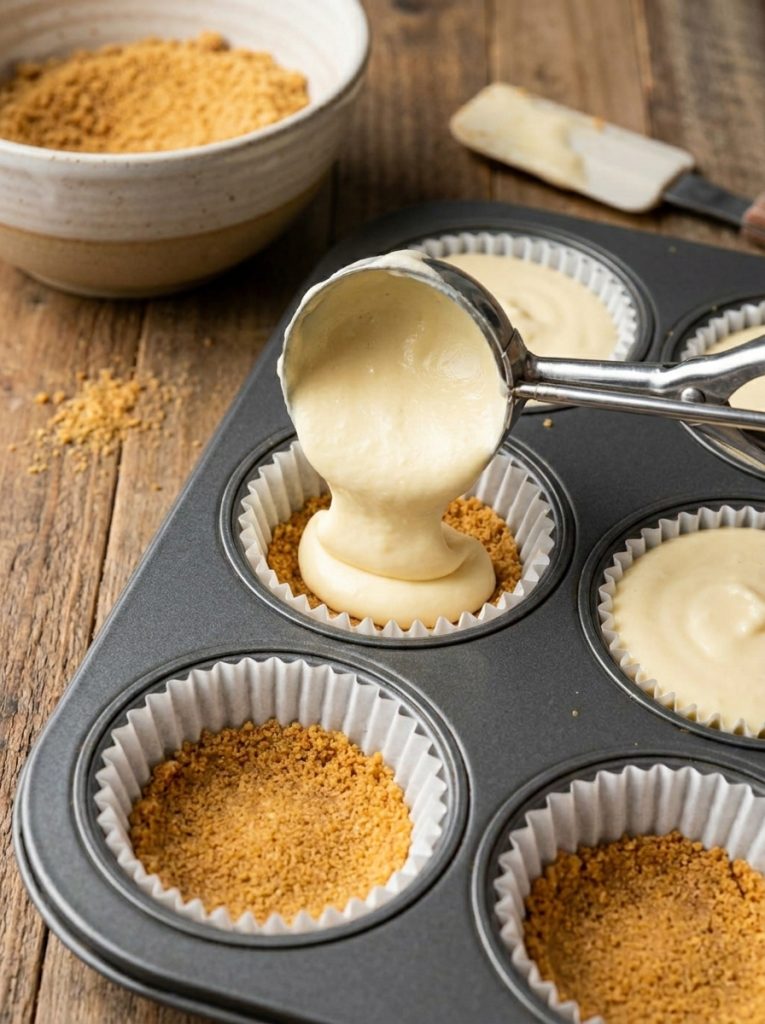
Divide the batter evenly among the muffin cups, filling each one nearly to the top. Bake for 15 to 17 minutes. The edges should look set, but the centers should still have a gentle wobble when you carefully shake the pan. If the centers move like liquid, give them another 2 minutes.
Step 7: Cool gradually, then chill
When the timer goes off, turn off the oven, crack the door, and let them sit inside for 15 to 20 minutes before moving to the counter. This prevents the sudden temperature drop that causes centers to sink. Then let them cool fully at room temperature before refrigerating for at least 4 hours. I know the waiting is painful — but warm cheesecake hasn’t fully set yet and it just doesn’t have the same texture.
Step 8: Add toppings and serve
Right before serving, pipe or dollop whipped cream on top and arrange fresh fruit. Keep it casual or make it pretty — either way, the cheesecake underneath does all the heavy lifting.
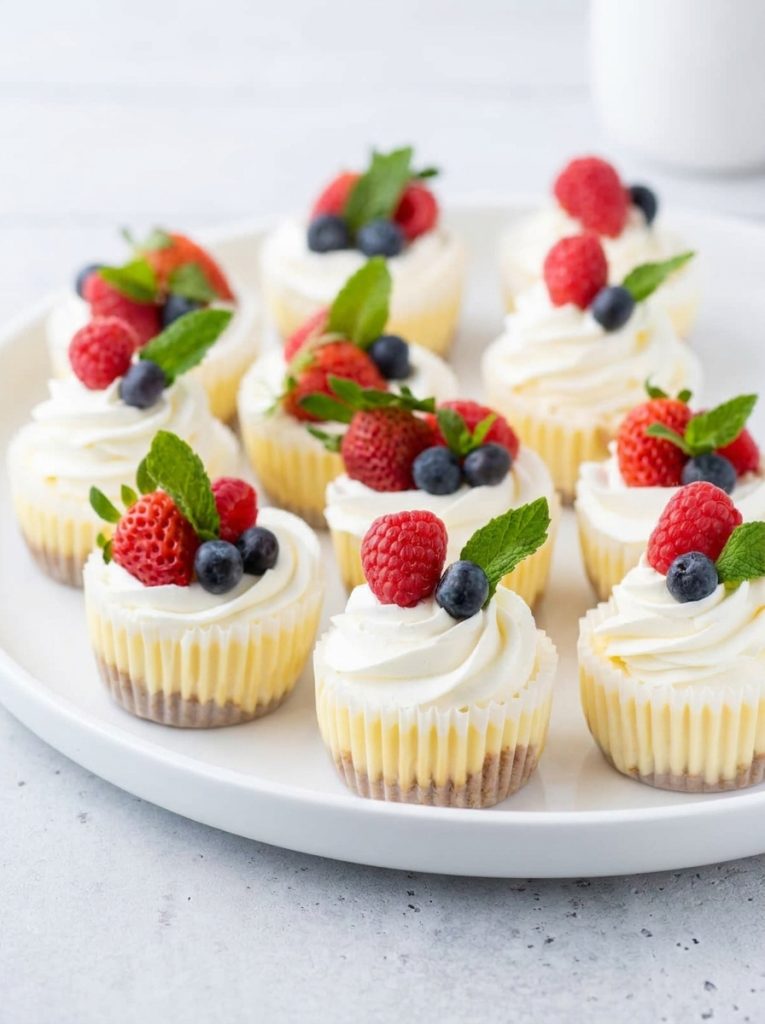
Occasions to Serve
These are my go-to when I need a dessert that travels well and looks put-together without requiring much last-minute work. Since you make them ahead and add toppings fresh right before serving, they’re genuinely stress-free for entertaining. They work beautifully for birthday parties, holiday tables, baby or bridal showers, dinner party desserts, and summer gatherings. I’ve also made them just for a quiet weekend at home because sometimes you deserve a little cheesecake for no reason at all.
Cooking Tips
- Don’t overmix once the eggs are in. Beat only until the yolk just incorporates — overbeating traps air that causes sinking as they cool.
- Check for the right jiggle. The center should wobble slightly like set Jell-O, not move like liquid. If it’s still liquid, give it another 2 minutes.
- If the tops crack, don’t panic. Whipped cream and fruit cover everything. Nobody needs to know.
- These are actually better the next day after a full overnight chill. The flavor deepens and the texture firms up beautifully.
Variations
- Swap graham crackers for Oreos or chocolate wafers for a chocolate crust
- Add lemon zest to the batter for a bright citrus version
- Swirl a spoonful of strawberry jam into the filling before baking
- Mix mini chocolate chips directly into the batter
- Top with salted caramel drizzle instead of fruit
- Use ginger snap crust in fall — it pairs incredibly well with the creamy filling
- Skip the crust entirely if you prefer (though they’re harder to eat with your hands this way)
Serving Suggestions
These pair really nicely with espresso or a light dessert wine. If I’m serving them at a party, I set up a small topping station — bowls of berries, a jar of caramel, some crushed graham crackers, chocolate chips — and let guests build their own. It always gets people excited and it takes all the pressure off me to make every single cup look perfect.
Storage Tips
- Refrigerate in an airtight container for up to one week, though they’re best within 3 to 4 days for maximum freshness.
- Freeze without toppings, wrapped tightly, for up to 2 months. Thaw overnight in the fridge before serving.
- Always add fresh fruit and whipped cream just before serving — not ahead of time.
- If making for a party, 3 to 4 days ahead is the sweet spot. They’ll taste fresh and you’ll have nothing to stress about on the day.
Where are the amounts of ingredients?