Osso Buco with Gremolata (Rich, Tender & Totally Worth the Time)
Introduction
When I make osso buco, it always feels like I’m cooking something a little special—even if it’s just a quiet dinner at home. It’s one of those dishes that looks impressive but is honestly more about patience than skill.
The first time I tried it, I assumed it would be complicated. Turns out, it’s mostly letting things simmer while your kitchen fills with the best smell ever.
What really makes this dish stand out is that contrast—the deep, slow-cooked richness of the meat and that fresh, punchy gremolata right at the end.
I usually make this on weekends when I have time to let it cook low and slow. It’s not fast, but it’s the kind of recipe that rewards you big time.
If you’ve been intimidated by it before, this version breaks it down in a way that actually feels doable.
Why This Recipe Works
This recipe leans into simple ingredients and time rather than complicated steps.
The meat turns incredibly tender, almost falling apart, while the sauce builds layers of flavor as it cooks.
And that gremolata at the end? It completely changes the dish—in the best way.
Osso Buco with Gremolata
Cooking Advice
When I make this, I always take my time with the browning step. I’ve rushed it before, and the flavor just wasn’t the same. That golden crust is where everything starts.
I’ve also tried skipping the gremolata once… and yeah, don’t do that. The dish felt heavy without it.
If veal isn’t easy to find, beef shanks work really well. I still prefer veal when I can get it, but beef gives you a deeper, slightly stronger flavor.
One small thing I’ve learned—don’t drown it in liquid. You want a gentle braise, not a soup.
Ingredients Needed
- Veal shanks (or beef shanks) – cross-cut, about 1.5–2 inches thick
- Salt & black pepper – basic but important
- All-purpose flour – for light coating
- Olive oil – for searing
- Onion – finely chopped
- Carrots – small dice
- Celery – small dice
- Garlic – minced
- Tomato paste – adds depth
- White wine – dry works best
- Beef or chicken broth – for braising
- Bay leaves – subtle flavor boost
- Fresh parsley – for gremolata
- Lemon zest – bright and fresh
- Extra garlic – for gremolata
Step-by-Step Instructions
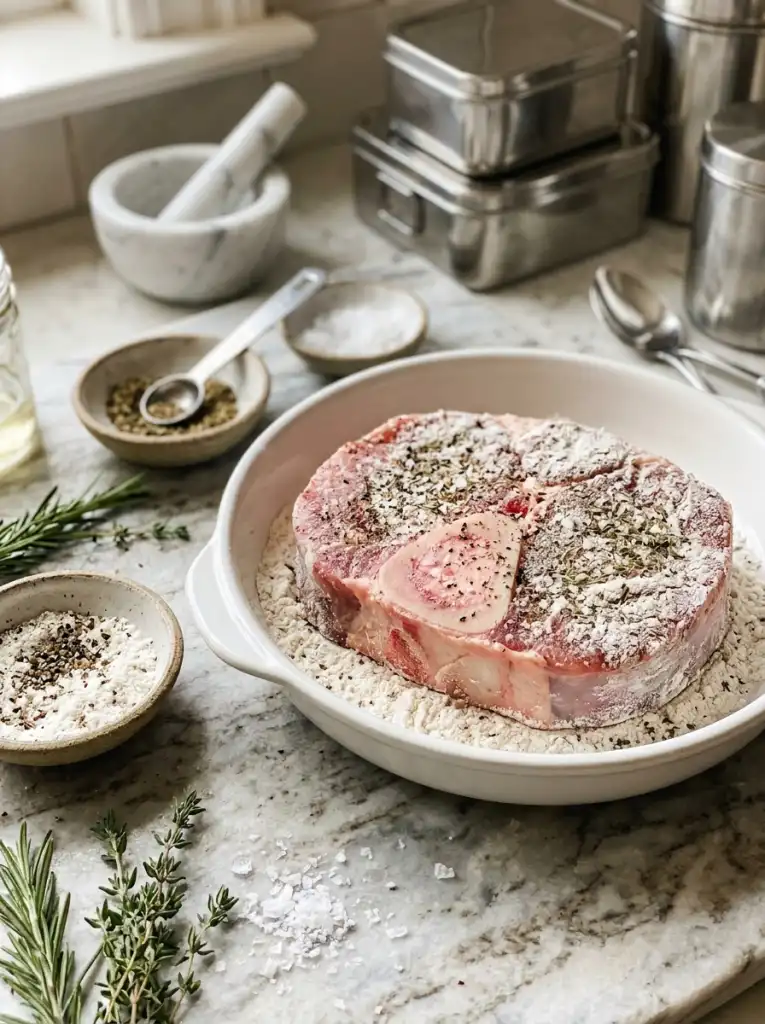
Step 1: Prep the Shanks
Pat the shanks dry, season well, and lightly coat them in flour.
I used to skip drying them… bad idea. They won’t brown properly if they’re wet.
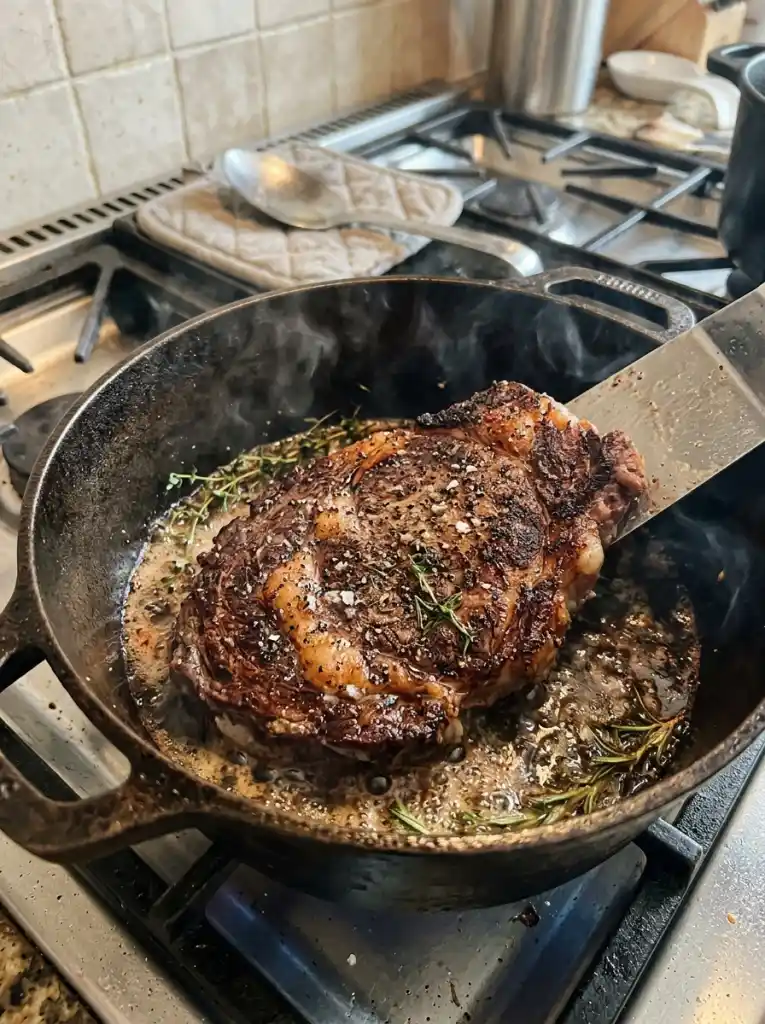
Step 2: Sear Until Deeply Golden
Heat olive oil in a heavy pot and sear the shanks on all sides until browned.
Don’t move them too much—let that crust form.
Step 3: Build the Base
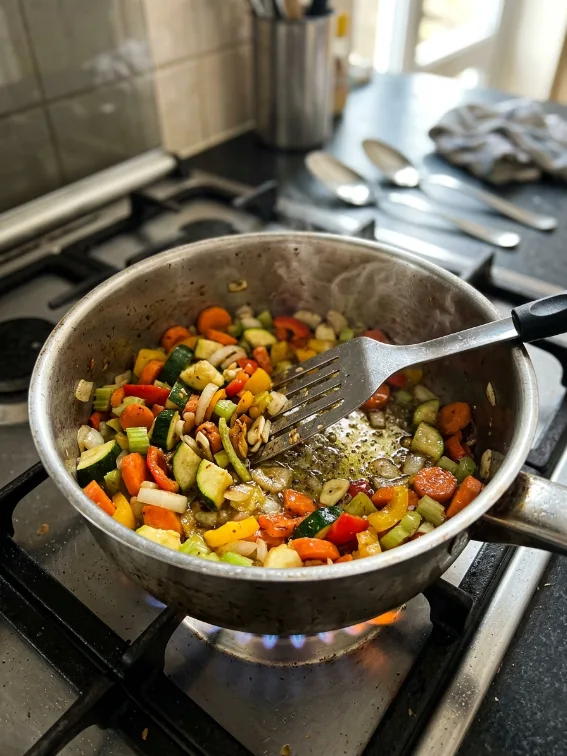
Remove the meat, then sauté onion, carrot, and celery until softened.
Add garlic and tomato paste, stirring until everything smells rich and slightly sweet.
Step 4: Deglaze with Wine
Pour in white wine and scrape up all those browned bits.
This step always feels satisfying—it’s where the flavor really starts coming together.
Step 5: Braise Low and Slow
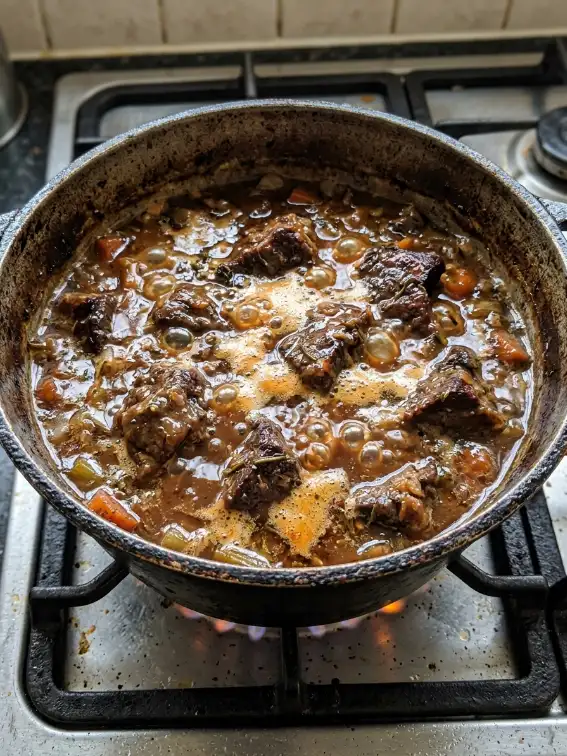
Return the shanks to the pot, add broth and bay leaves, cover, and let it simmer gently.
Cook until the meat is fork-tender. This part takes time, and yeah, waiting can be annoying—but it’s worth it.
Step 6: Make the Gremolata
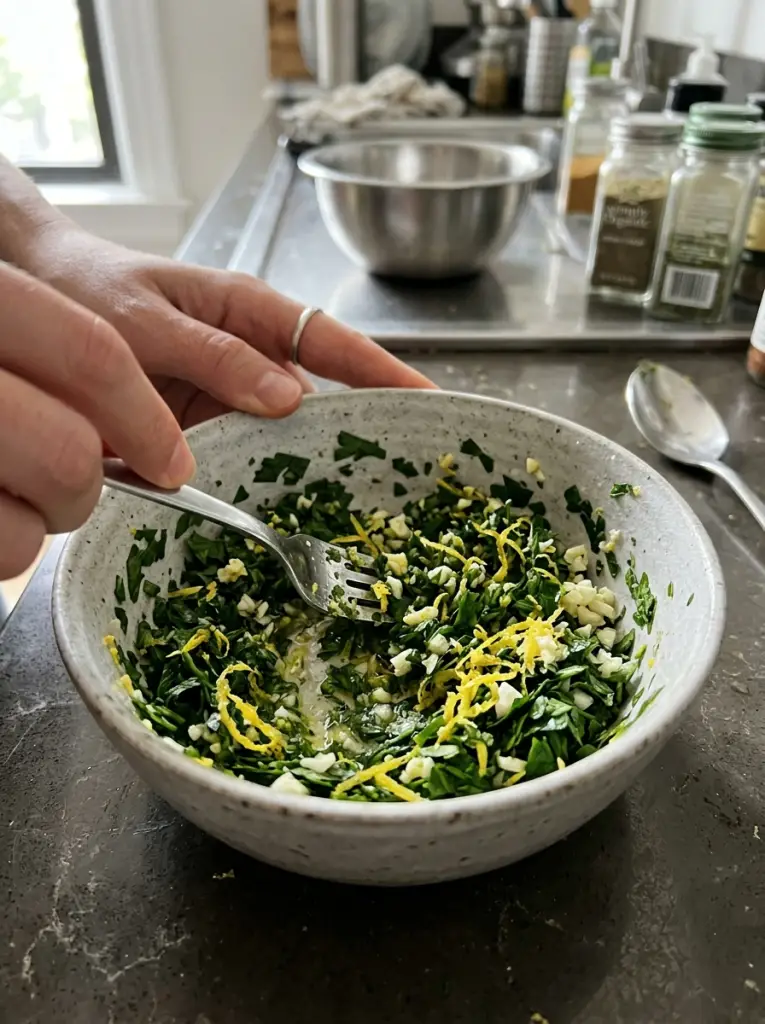
Mix chopped parsley, lemon zest, and garlic.
It’s simple, but it completely lifts the dish.
Step 7: Finish and Serve
Spoon sauce over the shanks and sprinkle gremolata on top just before serving.
That fresh hit at the end makes everything pop.
Final Dish Presentation
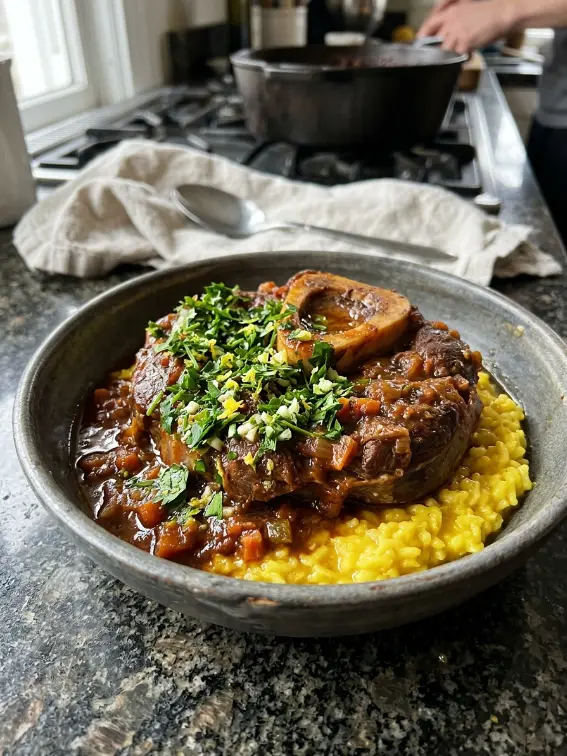
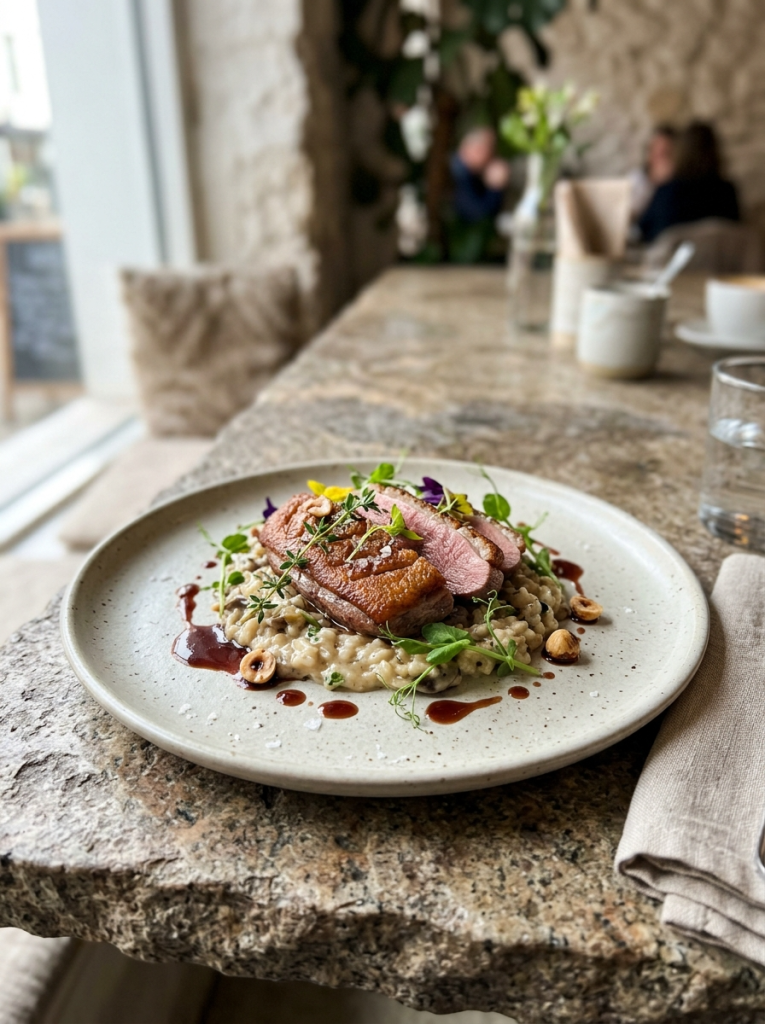
I like to plate this in a shallow bowl with plenty of sauce spooned over the top. Then I scatter the gremolata right before serving so it stays bright and fresh.
Sometimes I add a little extra lemon zest on top—could be just me, but I like that extra kick.
Occasions to Serve
This works really well for weekend dinners, small gatherings, or anytime you want something comforting but a bit elevated.
It’s also great for colder weather when you want something slow-cooked and satisfying.
Cooking Tips
- Don’t rush the browning—it builds the flavor
- Keep the heat low during braising
- Taste the sauce before serving and adjust salt
- Let it rest a few minutes before plating
Variations
- Use beef shanks instead of veal
- Add a splash of cream for a richer sauce
- Toss in mushrooms for extra depth
- Serve with risotto instead of plain sides
Serving Suggestions
- Creamy mashed potatoes
- Risotto (classic pairing)
- Buttered pasta
- Crusty bread to soak up the sauce
Storage Tips
Store leftovers in an airtight container in the fridge for up to 3 days.
Reheat gently on the stove with a splash of broth so it doesn’t dry out.
Honestly, I think it tastes even better the next day.
Closing Note
I keep coming back to this recipe because it feels like something special without being overly complicated.
Once you get comfortable with the slow cooking part, it becomes one of those dishes you’ll actually look forward to making.