Crispy Roasted Brussels Sprouts with Balsamic and Maple Syrup
I used to be one of those people who swore they hated Brussels sprouts. Turns out, I just hadn’t roasted them the right way. Once I figured out the trick of high heat, a hot baking tray, and a simple balsamic maple glaze, everything changed. These roasted Brussels sprouts come out caramelized, crispy on the edges, and slightly sweet with a tangy finish. They’re one of my favorite side dishes for the holidays, but honestly, I make them year round now. If you’ve been on the fence about Brussels sprouts, this recipe will change your mind.
1. Crispy Roasted Brussels Sprouts with Balsamic and Maple Syrup
Cooking Advice
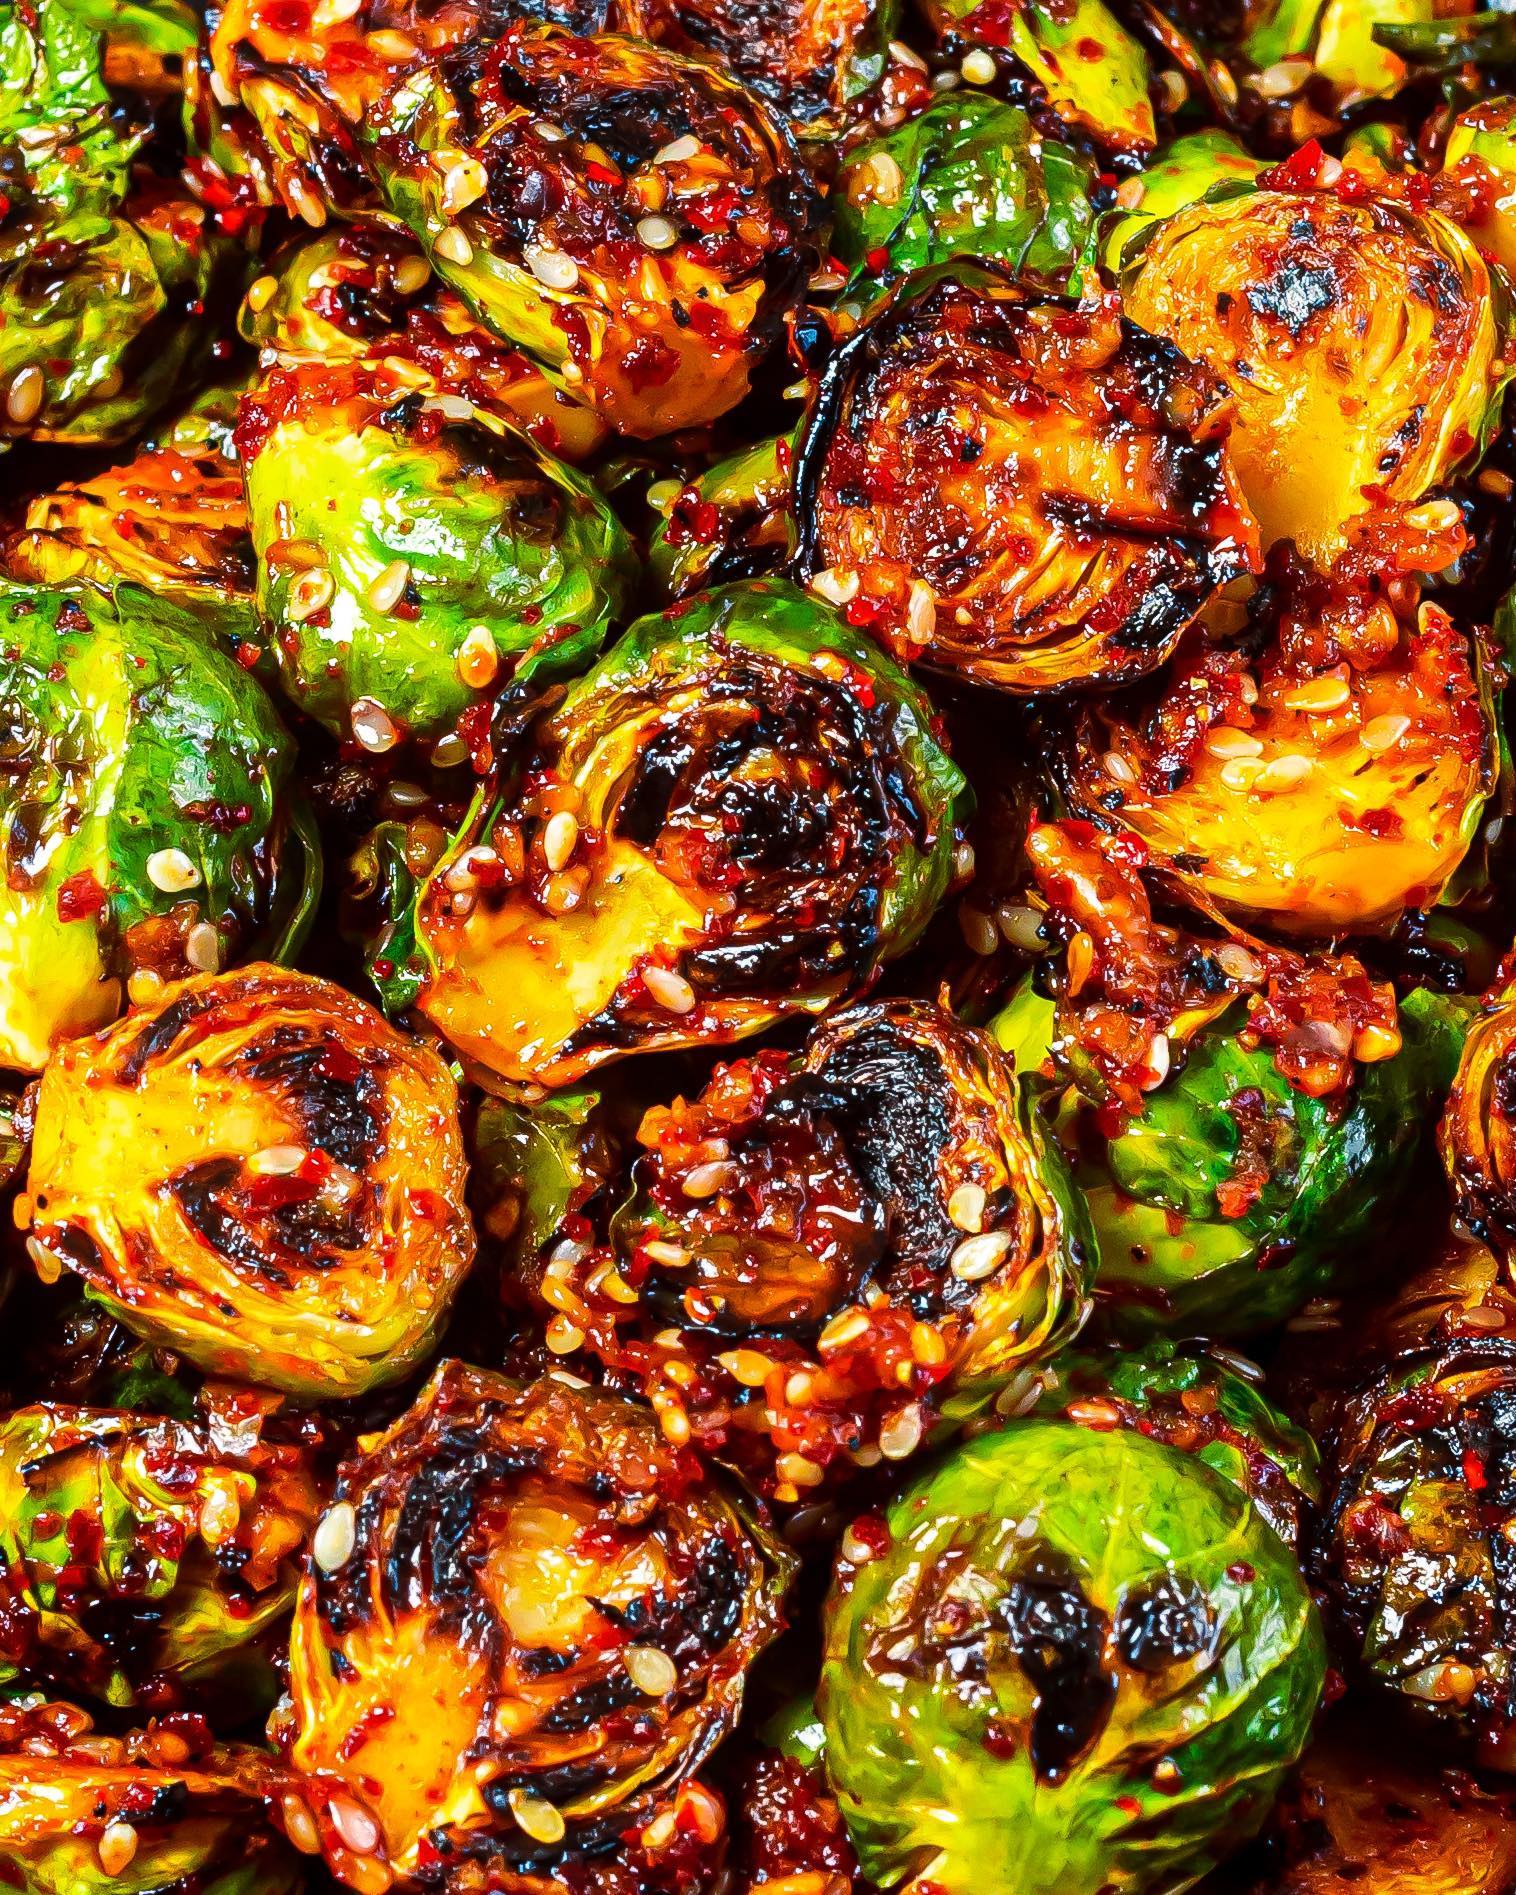
The single most important thing you can do here is preheat your baking tray in the oven. When the Brussels sprouts hit that hot surface, they start to sear immediately. That’s how you get those deeply caramelized, almost charred edges that make this dish addictive. Don’t skip this step. I’ve tried it both ways, and the difference is night and day.
Ingredients
- 500g Brussels sprouts
- A touch of oil (enough to drizzle on the baking tray plus coat the sprouts)
- Salt and pepper to taste
- 1 Tbsp maple syrup
- 1 to 2 Tbsp balsamic vinegar (plus extra for drizzling before serving)
Instructions
- Start by prepping your Brussels sprouts. Peel away any yellowed or wilted outer leaves, then cut each one in half from top to bottom. Try to keep the halves roughly the same size so they cook evenly. I’ve messed this up before by leaving bigger ones whole, and they came out undercooked in the center while the small ones burned. Take the extra minute to trim them properly.
- Preheat your oven to 230C (450F). While it heats up, drizzle a little oil onto your baking tray and slide it into the oven. You want that tray screaming hot by the time the sprouts go on. This is the step that makes all the difference. The oil on the tray will shimmer and get thin when it’s ready. Give it at least 10 minutes in there.
- While the oven and tray are preheating, toss the halved Brussels sprouts in a mixing bowl with a touch of oil, salt, pepper, the maple syrup, and 1 to 2 tablespoons of balsamic vinegar. Use your hands or a spoon to mix everything well. You want each sprout coated in that sticky, sweet and tangy mixture. The maple syrup helps with caramelization, and the balsamic adds a depth that plain roasted sprouts just don’t have.
- Carefully pull the hot baking tray out of the oven. Transfer the Brussels sprouts onto it in a single layer. Here’s the key part. Place each sprout cut side down on the tray. That flat surface needs direct contact with the hot metal. You should hear a gentle sizzle when they hit the pan. If they’re piled on top of each other, they’ll steam instead of roast, and you’ll lose that crispy texture. When I make this, I take a few extra seconds to flip any that landed wrong.
- Roast for 20 to 25 minutes. You don’t need to stir or flip them during this time. Just let the oven do the work. Around the 20 minute mark, check on them. The tops should be golden and the edges starting to get dark and crispy. The cut sides, when you lift one up, should be deeply browned, almost charred in spots. That’s what you want. If they still look pale, give them another 3 to 5 minutes.
- Pull them out and give them a final drizzle of balsamic vinegar right before serving. This last hit of vinegar adds a fresh, sharp contrast to all that caramelized sweetness. It’s a small touch, but it pulls the whole dish together.
Serving Suggestions
- These go beautifully alongside roast chicken, grilled steak, or a holiday roast. They’re a natural fit for any Christmas or Thanksgiving spread.
- Try them next to mashed potatoes or creamy polenta for a contrast in textures.
- For a lighter meal, toss the roasted sprouts into a grain bowl with some feta and a squeeze of lemon.
- They also work surprisingly well on their own as a warm appetizer. I’ve set out a platter at dinner parties and watched them disappear.
Closing Note
I keep coming back to this recipe because it’s so simple and it works every single time. The whole thing takes about 30 minutes from start to finish, and there’s barely any cleanup. Once you get the hang of the hot tray method, you’ll never go back to soggy, sad Brussels sprouts again. This one’s a keeper.