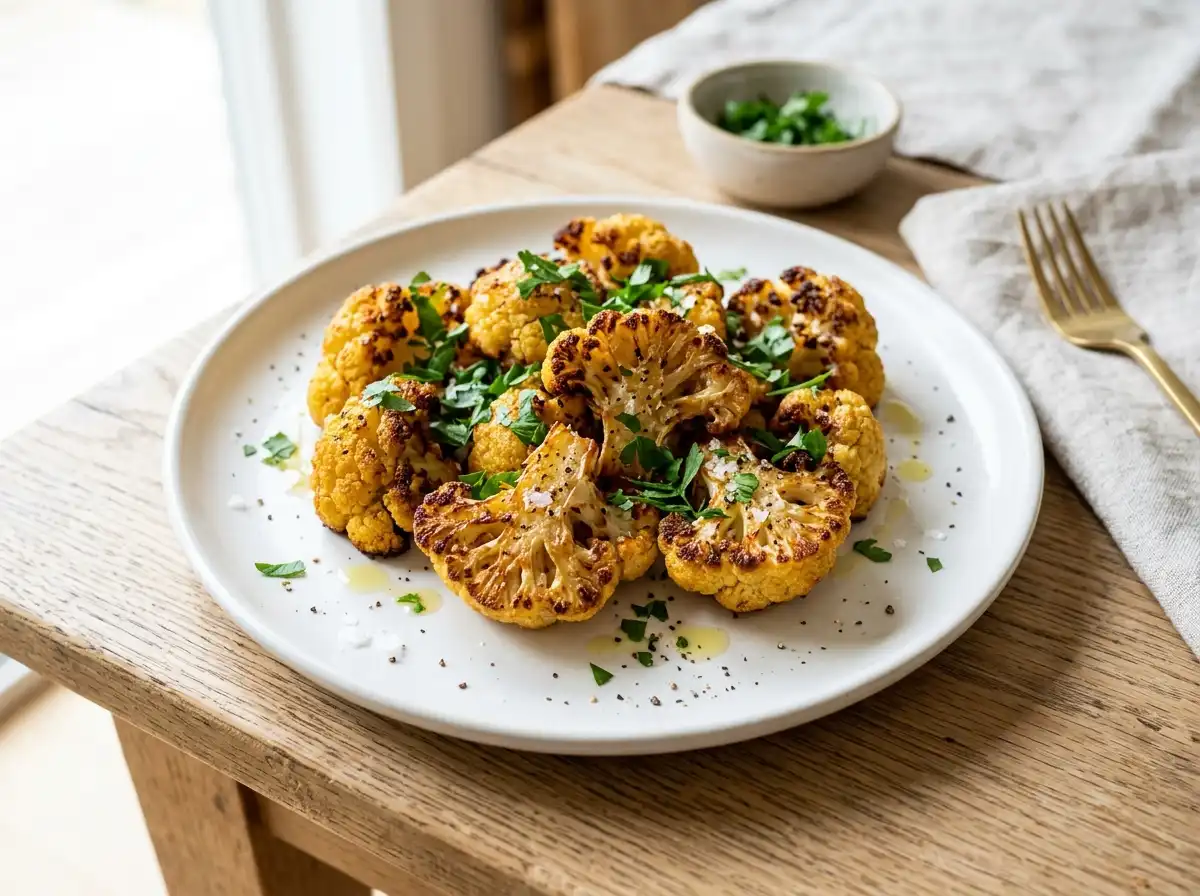
Crispy Roasted Cauliflower
Cauliflower has had quite the culinary glow-up. Once the wallflower of the vegetable world, it now commands center stage on restaurant menus and weeknight dinner tables alike. And honestly? It deserves every bit of the spotlight.
This Crispy Roasted Cauliflower recipe is proof of why. A handful of pantry staples, a single baking sheet, and about 35 minutes of your time are all it takes to transform humble florets into a dish packed with smoky depth, golden crunch, and a bright lemon finish. The tender inside, the caramelized edges, the fragrant hit of smoked paprika — it all comes together in a way that’s far greater than the sum of its parts.
Whether you’re cooking for one on a quiet weeknight, meal-prepping for the week ahead, or setting out a crowd-pleasing side at a dinner party, this recipe is foolproof, flexible, and endlessly satisfying. Stick around for ingredient breakdowns, step-by-step instructions, pro tips, serving ideas, and storage tricks that will make this your new go-to vegetable dish.
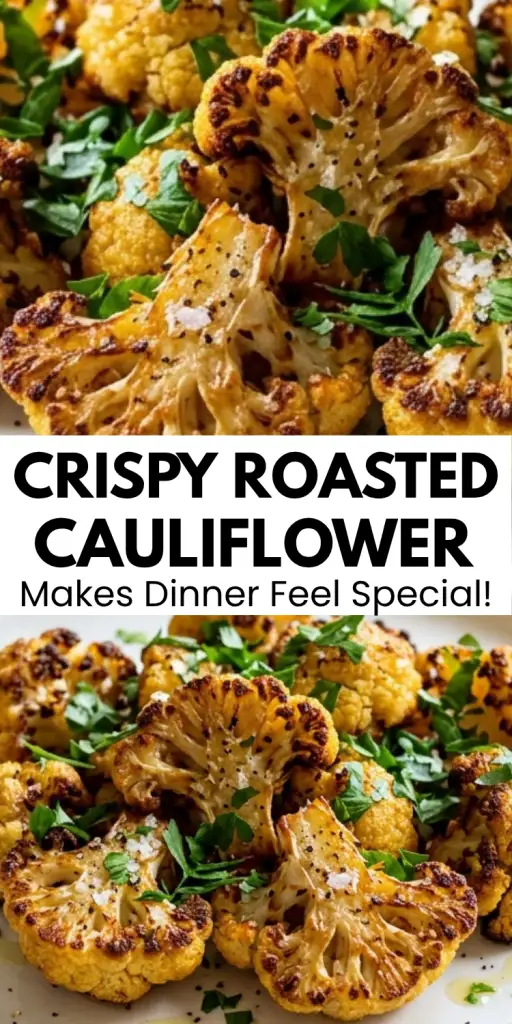
Why You’ll Love This Recipe
Before we get into the details, here’s why this recipe stands out from every other roasted vegetable dish you’ve tried:
It’s beginner-friendly. No special equipment, no complicated techniques. If you can chop, toss, and turn on an oven, you can nail this.
The flavor is surprisingly bold. Smoked paprika, garlic powder, and sea salt turn a mild vegetable into something genuinely crave-worthy.
It’s incredibly versatile. Serve it as a side, throw it into a salad, fold it into pasta, or eat it straight off the baking sheet. It works in almost any context.
It suits almost every diet. Naturally gluten-free, easily made vegan, and low in carbs — it checks a lot of boxes without compromising on taste.
Try this! Viral Hot Honey Ground Beef Bowl
Key Ingredients
Gathering the right ingredients is the first step to getting those florets perfectly golden and crispy. Here’s everything you’ll need and why each element matters.
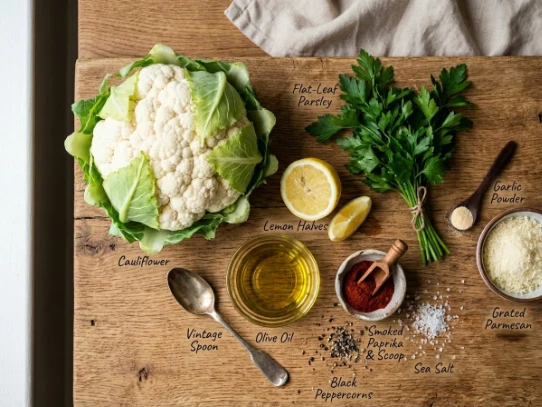
1 Medium Head of Cauliflower (leaves removed, cut into bite-sized florets)
This is the star of the show. Cauliflower has a mild, slightly nutty flavor that absorbs seasoning beautifully and develops incredible texture when roasted at high heat. Look for a firm, white head with tightly packed florets and no browning. Cut the florets to a consistent size — this is more important than you might think, and we’ll explain why in the tips section.
2 Tablespoons Olive Oil
Olive oil does two essential jobs here. First, it evenly coats the florets so the seasoning adheres to every surface. Second, it conducts heat directly to the cauliflower, encouraging that deep golden-brown finish. Don’t skimp — under-oiled florets tend to dry out rather than crisp up.
½ Teaspoon Fine Sea Salt
Salt enhances the natural sweetness of cauliflower and balances the smoky spices. Fine sea salt distributes more evenly than coarse salt, ensuring consistent seasoning in every bite.
¼ Teaspoon Freshly Ground Black Pepper
A subtle but important player. Freshly ground black pepper adds warmth and a mild kick that keeps the flavor from feeling flat. Pre-ground works in a pinch, but fresh is always better.
1 Teaspoon Smoked Paprika
This is the ingredient that takes the dish from good to great. Smoked paprika infuses a rich, complex smokiness that pairs perfectly with the natural sweetness of roasted cauliflower. It also gives the florets that beautiful deep-orange, caramelized color.
1 Tablespoon Fresh Lemon Juice
Added after roasting, lemon juice provides a bright, tangy contrast that cuts through the richness of the oil and spices. This finishing touch is what makes the dish feel complete and restaurant-worthy. Always use fresh — bottled lemon juice won’t deliver the same vibrancy.
2 Tablespoons Chopped Fresh Parsley
Scattered over the hot florets just before serving, fresh parsley adds a clean, herbaceous note and a burst of green color that makes the dish visually striking as well as delicious.
Optional: ½ Teaspoon Garlic Powder
If you love garlic — and most people do — add this to the seasoning oil. It lends savory, aromatic depth without the risk of fresh garlic burning at high oven temperatures.
Optional: 2 Tablespoons Grated Parmesan Cheese
For a salty, umami-rich finish, a shower of freshly grated Parmesan over the hot florets melts slightly and adds an irresistible cheesy quality. For a fully vegan version, substitute 1 tablespoon of nutritional yeast, which delivers a similar cheesy depth.
Step-by-Step Instructions
Getting perfectly crispy cauliflower is all about preparation, seasoning, and precise roasting. Follow these steps closely for florets with golden-brown edges and tender, fluffy centers.
Step 1 — Preheat Your Oven to 425°F (220°C)
High heat is the non-negotiable foundation of this recipe. Position the rack in the center of the oven for even heat circulation. Give your oven at least 15 minutes to fully preheat before the cauliflower goes in — a properly hot oven means immediate searing contact, which is what creates the crust.
Step 2 — Rinse and Dry the Florets Thoroughly
Rinse the cauliflower florets under cold water, then pat them very dry with a clean kitchen towel or several layers of paper towels. This step is absolutely crucial and cannot be skipped. Any residual moisture on the surface of the florets will turn to steam in the oven, which prevents browning and leaves you with soft, limp cauliflower instead of crispy, golden florets.
Step 3 — Prepare the Seasoned Oil
In a large mixing bowl, whisk together the olive oil, fine sea salt, black pepper, smoked paprika, and garlic powder (if using) until the spices are fully suspended throughout the oil. Taking a moment to combine these first — rather than just pouring everything over the cauliflower — ensures perfectly even coating.
Step 4 — Toss the Florets Until Fully Coated
Add the dried florets to the bowl and toss thoroughly, using your hands or a large spoon, making sure every surface of every piece is coated in the seasoned oil. Reach into the crags and crevices of each floret. Uncoated spots won’t brown properly.
Step 5 — Spread on a Lined Baking Sheet
Line a large baking sheet with parchment paper or a silicone baking mat. Spread the florets out in a single layer, leaving space between each piece so hot air can circulate freely around them. If the florets are crowded, they’ll steam instead of roast. Use two baking sheets if necessary — it’s worth the extra washing up.
Step 6 — Roast for 25 to 30 Minutes, Flipping Halfway
Place the baking sheet in the center of the preheated oven. At the halfway point — around 12 to 15 minutes — remove the pan and flip each floret with a spatula so all sides get equal exposure to the heat. This ensures uniform browning and prevents any one side from becoming overly dark.
Step 7 — Watch Closely in the Final 5 Minutes
As you approach the 25-minute mark, keep a close eye on the oven. The edges should be turning a deep golden brown and crisping up beautifully. Every oven runs slightly differently, so trust your eyes and nose as much as the timer. Pull them out the moment they look perfectly caramelized — don’t let them cross into burnt.
Step 8 — Finish with Lemon, Parsley, and Parmesan
The moment the baking sheet comes out of the oven, drizzle the hot florets with fresh lemon juice, then immediately scatter over the chopped parsley and grated Parmesan (if using). The residual heat will melt the cheese slightly and allow the lemon juice to soak into the crispy edges — this finishing step transforms good roasted cauliflower into something exceptional.
Step 9 — Serve Immediately
Transfer to a serving platter and bring it to the table straight away. Crispiness is fleeting — this dish is at its absolute best piping hot, fresh from the oven. Don’t let it sit.
Tips for Perfect Crispy Roasted Cauliflower
The difference between good roasted cauliflower and truly great roasted cauliflower comes down to a few insider tricks. Master these and every batch will turn out beautifully.
Never crowd the pan. This is the most common mistake and the most impactful one to fix. When florets are packed too tightly, the moisture they release has nowhere to go and the pan turns into a steamer. Always leave space between each piece. If your cauliflower head is large, roast in two batches or across two pans simultaneously.
Cut florets to a uniform size. Consistency matters more than the specific size. Evenly sized florets cook at the same rate, meaning they all finish at the same time — golden and tender throughout. Mismatched pieces result in some burning while others remain pale and undercooked.
Dry is everything. Of all the steps in this recipe, thoroughly drying the florets after washing has the single greatest impact on the final result. Water on the surface steams the cauliflower from within, robbing it of any chance at crunch. Take your time here — it makes a genuine difference.
Use a hot oven and don’t open the door. Resist the temptation to peek too early. Opening the oven door releases heat and interrupts the roasting process. Let the oven do its work and only open to flip at the halfway point.
Make it vegan effortlessly. Skip the Parmesan and stir 1 tablespoon of nutritional yeast directly into the seasoning oil before tossing the florets. It adds the same savory, cheesy quality — completely plant-based.
Serving Suggestions
This crispy cauliflower is wonderful on its own as a snack or simple side, but it also plays brilliantly alongside other dishes. Here are four ways to put it to work.
With grilled proteins. Pair it alongside grilled chicken thighs, a pan-seared steak, or roasted salmon fillets for a well-balanced plate. The smoky florets complement savory mains beautifully, adding texture and vegetable depth to the meal without competing for attention.
Tossed into a warm salad. Scatter hot florets directly over a bed of crisp mixed greens, halved cherry tomatoes, sliced cucumber, and thinly shaved red onion. The warmth of the cauliflower wilts the greens ever so slightly — in the best possible way. Finish with a light lemon vinaigrette and serve immediately.
In a Mediterranean grain bowl. Spoon roasted florets over a base of cooked quinoa or farro alongside roasted chickpeas, sliced cucumber, and fresh herbs. Add a generous dollop of tzatziki or hummus and a final squeeze of lemon. It’s a satisfying, complete meal that comes together in minutes once the cauliflower is roasted.
Folded into pasta or mac ‘n’ cheese. Stir the crispy florets into a creamy pasta dish just before serving. The crunchy edges soften slightly but retain enough texture to contrast beautifully with rich, saucy pasta. The smoky, paprika-spiced cauliflower adds a pop of flavor that elevates the whole dish.
How to Store and Reheat Leftovers
Roasted cauliflower is best fresh, but leftovers can be stored and revived with the right approach.
Refrigeration. Allow the cauliflower to cool completely before storing — never seal warm food in a container, as the trapped steam will make it soggy. Transfer to an airtight container and refrigerate for up to 3 days.
The paper towel trick. Place a sheet of paper towel at the bottom of the storage container before adding the florets. It absorbs excess moisture that accumulates during storage, helping the cauliflower stay as un-soggy as possible.
Reheating for crispiness. The microwave is the enemy of crispy cauliflower. Instead, spread the leftovers in a single layer on a baking sheet and bake at 400°F (200°C) for 8 to 10 minutes. This revives much of the original crunch and heats the florets all the way through without drying them out.
Freezing for longer storage. If you want to keep cauliflower for longer, flash-freeze individual florets on a flat tray until solid, then transfer to a sealed freezer bag. They’ll keep for up to 2 months. To reheat, spread straight from frozen onto a baking sheet and bake at 400°F, adding a few extra minutes to the usual reheating time.