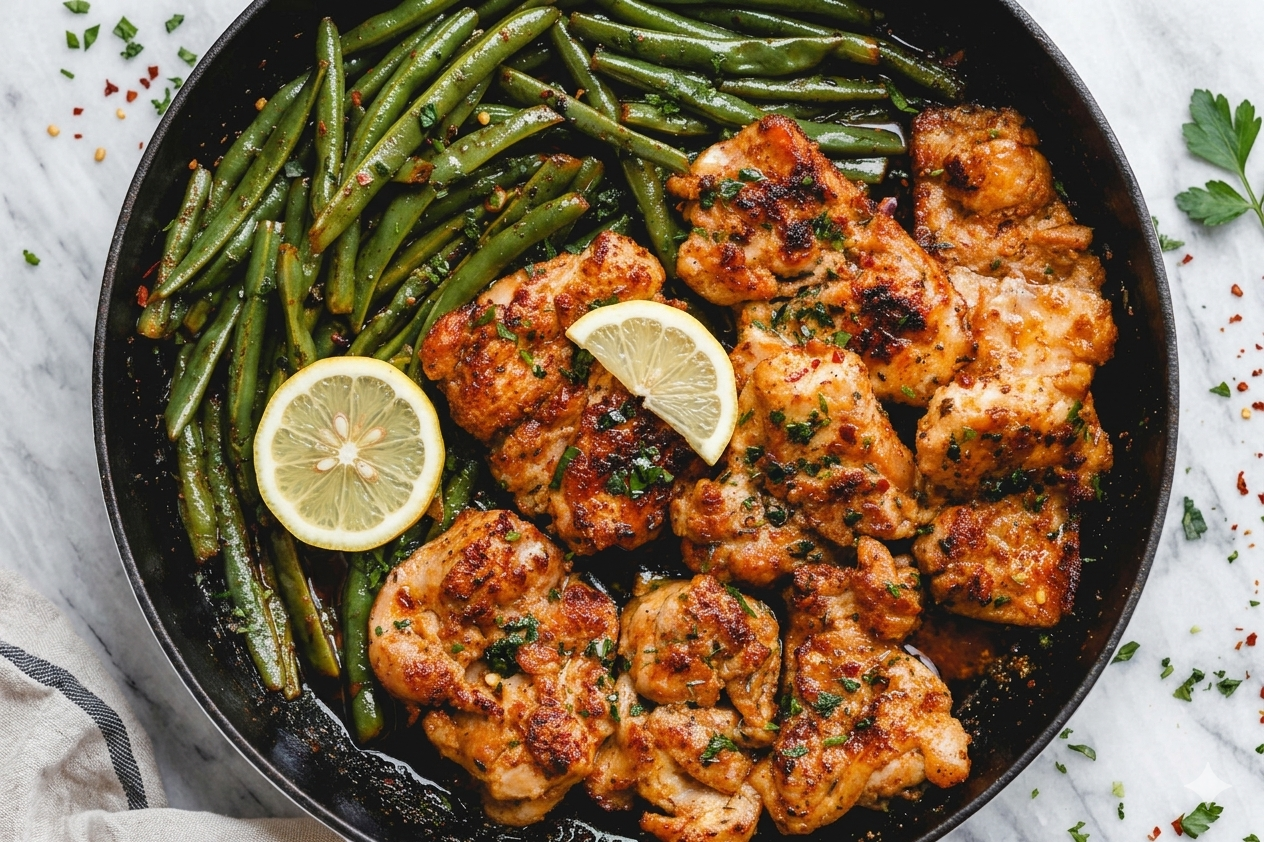
Lemon Garlic Butter Chicken & Green Beans
Hey there, flavor finders! Chef here. If you’ve been hunting for that mythical weeknight unicorn—a dinner that is lightning-fast, exploding with flavor, and leaves you with exactly one pan to scrub—you’ve officially arrived.
Today, we’re taking a deep dive into a classic: Lemon Garlic Butter Chicken and Green Beans Skillet. It’s naturally low-carb, keto, and paleo-friendly, but honestly? It’s just damn good food.
Below, I’ve laid out the exact recipe you know and love, but I’ve injected my years of professional kitchen experience into the technique. We aren’t changing a single ingredient, but we are changing how you handle them to get the absolute maximum flavor out of every component. Let’s cook!

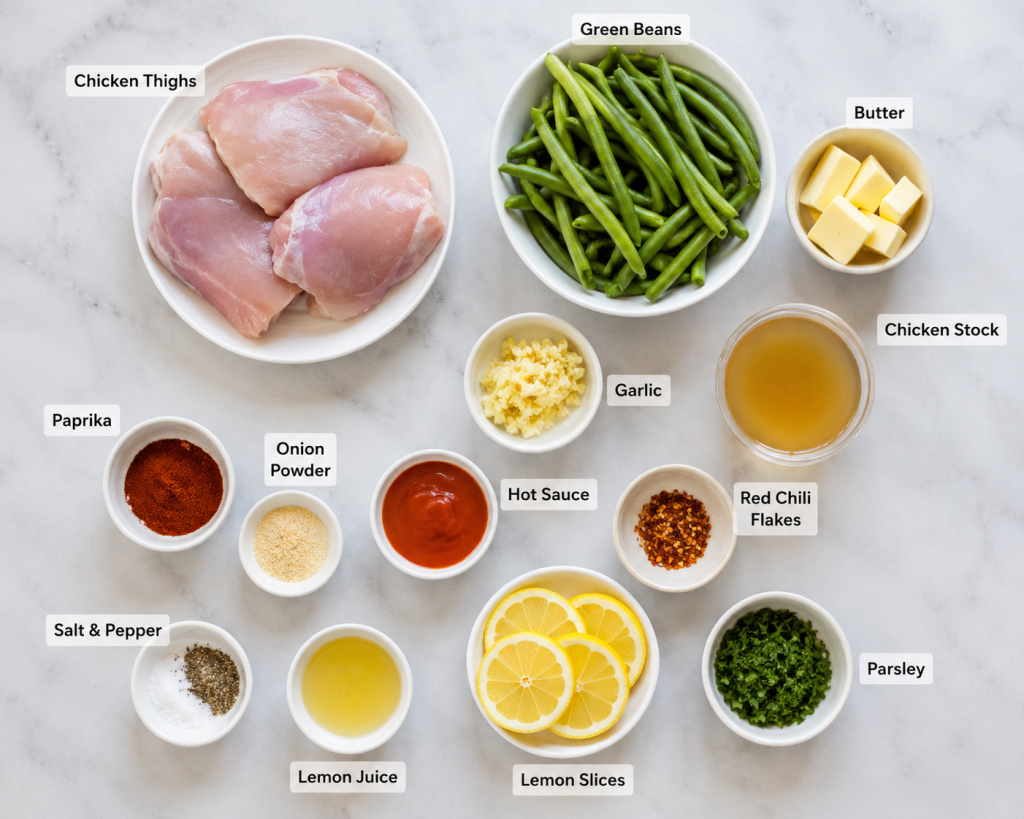
The Prep Station (Ingredients)
- 3–6 skinless, boneless chicken thighs
- 1 lb (450g) green beans, trimmed
- 3 tbsp butter, divided (or ghee for paleo)
- 4 cloves garlic, minced
- 1 tsp paprika
- 1 tsp onion powder
- 1/4 tsp salt and fresh cracked black pepper
- Juice of 1/2 lemon + lemon slices, for garnish
- 1/2 cup (125ml) chicken stock
- 1 tbsp hot sauce (Sriracha works beautifully)
- 1/4 tsp crushed red chili pepper flakes (optional, for kick)
- 1/2 cup fresh parsley, finely chopped
Chef’s Step-by-Step Method
[Dry & Season] ➔ [Blanch Beans] ➔ [Sear Chicken] ➔ [Build Sauce] ➔ [Reunite & Glaze]
Step 1: The Prep & Seasoning
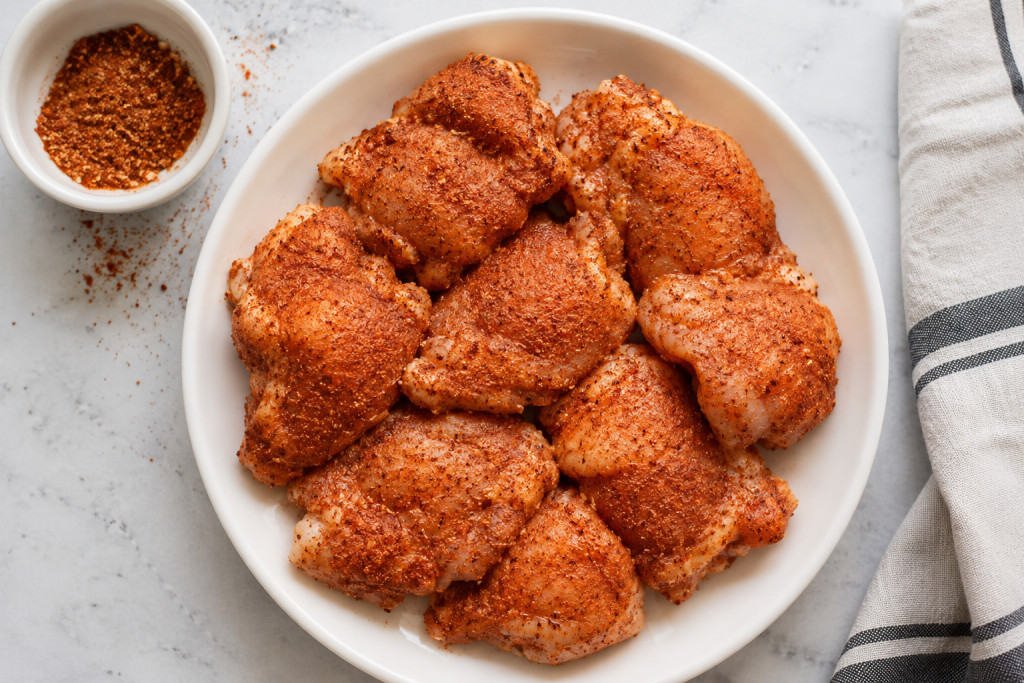
Use a paper towel to vigorously pat the chicken thighs completely dry. Moisture is the ultimate enemy of a good sear! In a small bowl, combine your onion powder, paprika, salt, and pepper. Rub the chicken thighs generously on all sides with this seasoning mixture. Set them aside on a plate to marry those flavors while you handle the greens.
Step 2: The Green Bean Head Start
Arrange your trimmed green beans in a microwave-safe dish with 1/2 cup (125ml) of water. Cover and microwave for 8–10 minutes until they are almost cooked through but still retain a vibrant green color and a distinct crisp-snap.
Step 3: The Master Sear
Heat a large cast-iron skillet over medium-low heat and melt 2 tablespoons of your butter. Place the seasoned chicken thighs top-side down into the hot skillet. Let them sit undisturbed to build a gorgeous, golden-brown crust—about 5–6 minutes. Flip the thighs and cook for another 5–6 minutes on the other side.
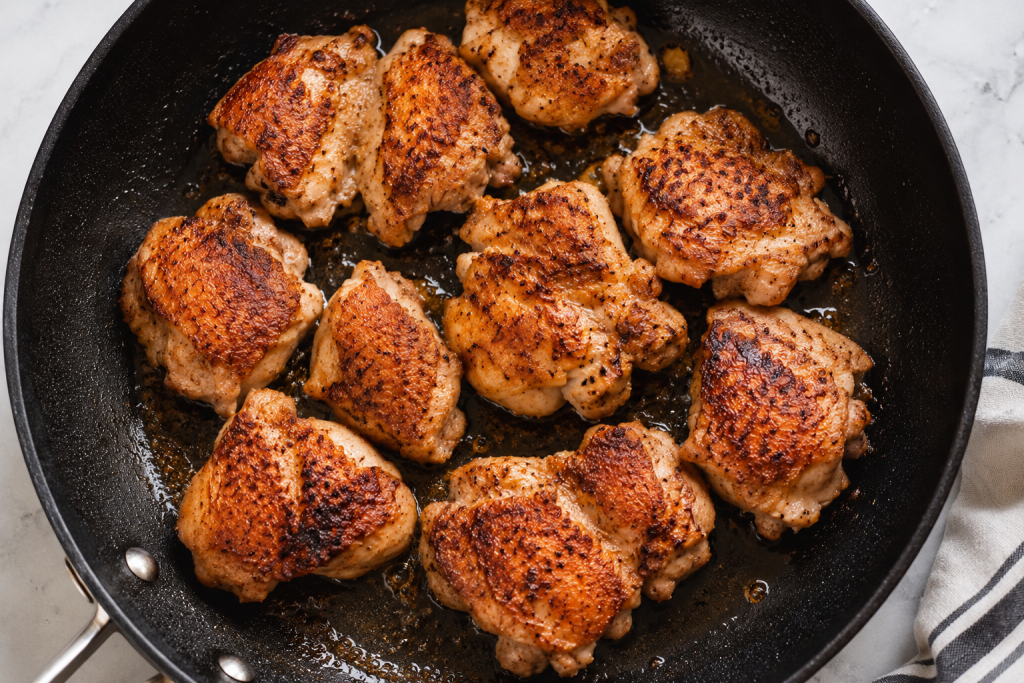
Chef’s Temp Check: You are looking for an internal temperature of 165°F (75°C) on a digital meat thermometer. If they are browning too fast, drop that heat down. Transfer the chicken to a warm plate and let them rest (and keep those juices inside!).
Step 4: Building the Pan Sauce
Lower the heat slightly in that same beautiful skillet (don’t you dare wipe out those chicken drippings!). Melt the remaining 1 tablespoon of butter. Toss in your minced garlic, chopped parsley, hot sauce, and red pepper flakes. Drop in your pre-cooked green beans. Cook for 4–5 minutes, stirring regularly, to let the beans absorb that aromatic fat.
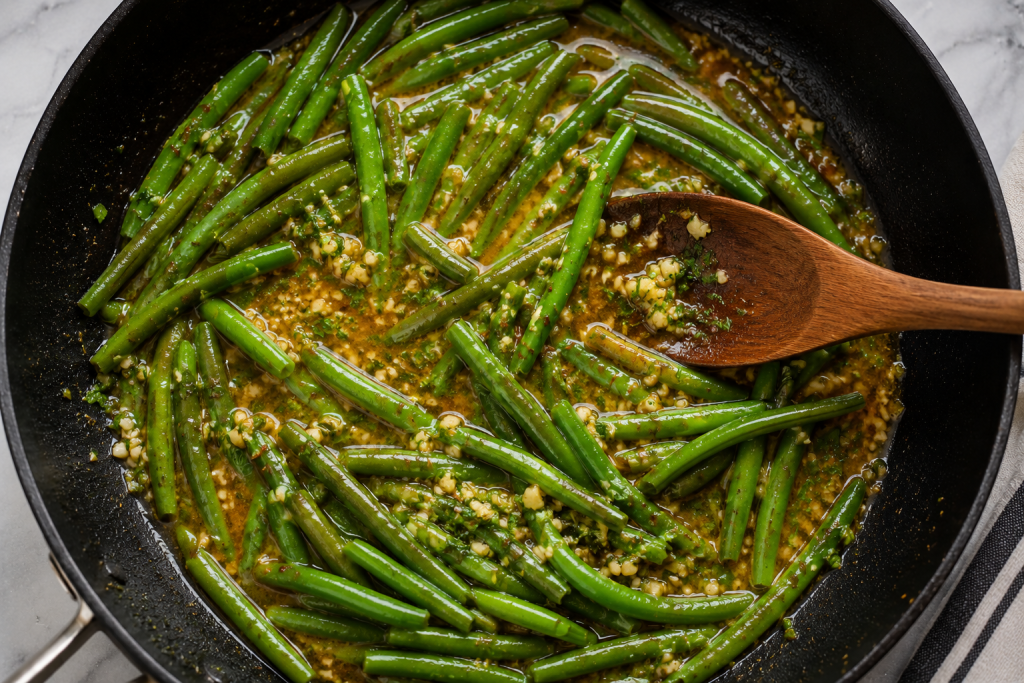
Pour in the chicken stock and lemon juice. Bring to a simmer, scraping up any delicious browned bits stuck to the bottom of the pan. Let the liquid reduce for a couple of minutes until it slightly thickens into a glossy glaze.
Step 5: The Grand Reunion
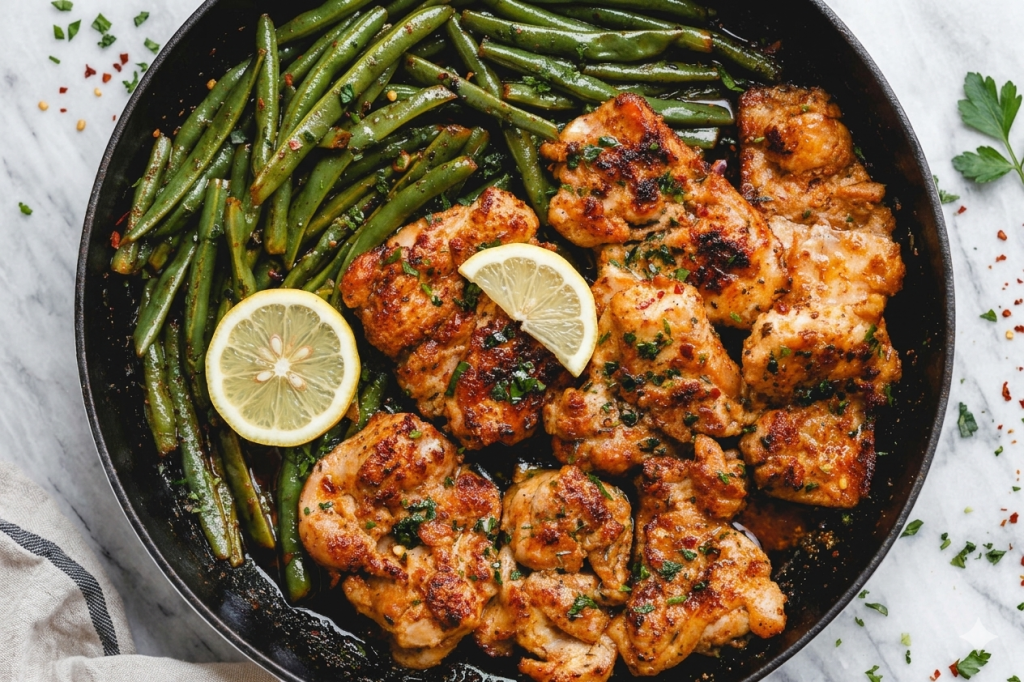
Push the green beans to the side of the skillet to create a nest. Place the chicken thighs and any rested juices back into the pan, spooning that gorgeous lemon-garlic butter sauce right over the top. Reheat everything quickly for 1–2 minutes. Give it a final crack of fresh black pepper.
Step 6: Plate and Garnish
Serve directly from the skillet while piping hot. Garnish with an extra pinch of chili flakes, the remaining fresh parsley, and a few fresh lemon slices for that stunning visual contrast.
💡 Pro-Chef Insider Notes: How to Make it Flawless
To turn this from a “good weeknight meal” into a “restaurant-quality dish,” keep these pro-tips in mind next time you hit the kitchen:
1. The Room Temp Trick
Never drop ice-cold chicken into a hot pan. Take your thighs out of the fridge about 15 minutes before cooking. Bringing them closer to room temperature ensures the meat cooks evenly from edge to center, preventing the outside from burning before the inside is done.
2. Searing vs. Crowding
If you are cooking 6 large thighs, do not crowd the pan. If the pieces are crammed together, they will steam instead of sear, and you’ll miss out on that beautiful golden crust. If your skillet isn’t wide enough, sear the chicken in two quick batches.
3. Mastering the Pan Sauce (Fond is Gold)
Those little stuck, browned bits at the bottom of your skillet after frying the chicken? That’s called fond, and it is concentrated flavor gold. When you pour in the chicken stock and lemon juice, use a wooden spoon to scrape those bits up. They will dissolve into the butter, creating a sauce with incredible depth.
Leftover Strategy
If you happen to have leftovers, store the chicken and green beans together in an airtight container in the fridge for up to 3 days.
- The Reheat Secret: When reheating in a skillet or microwave, the butter sauce will have solidified. Add a splash of chicken stock or water (just a teaspoon or two) before heating. This recreates the steam needed to loosen the sauce back into a silky glaze without drying out the chicken!
Bon Appétit! What is your favorite side to pair with a garlic-butter skillet meal?
Must try this: Bang Bang Chicken Bowl