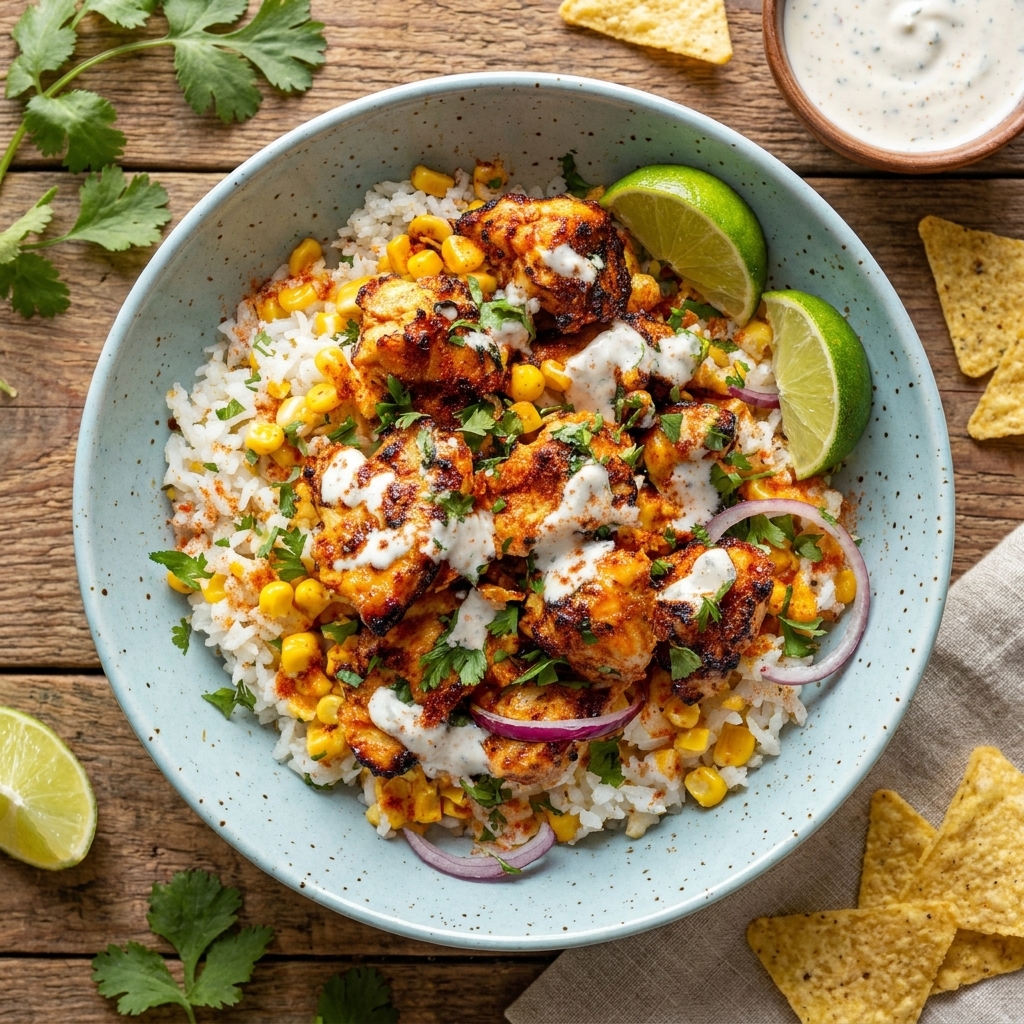
Crispy Garlic Chicken Fried Rice (Easy High-Protein Weeknight Favorite)
When I make this crispy garlic chicken fried rice, it’s usually because I want something fast but still really satisfying. It’s one of those meals that feels like takeout, but better—and honestly, cheaper too.
I’ve made fried rice a lot over the years, and this version is the one I keep coming back to. The chicken gets golden and slightly crunchy, the garlic smells amazing, and the rice soaks up all that savory flavor.
It’s also one of those recipes that works when your fridge is looking a little random. Leftover rice? Perfect. Extra veggies? Toss them in.
If you’ve ever ended up with mushy fried rice or bland chicken, this fixes both of those problems. And once you get the hang of it, it’s surprisingly hard to mess up.
Why This Recipe Works
The balance here is what makes it so good—crispy chicken, fluffy rice, and that punchy garlic flavor.
Using day-old rice keeps everything from turning soft or sticky.
Cooking things in stages also helps each ingredient keep its texture instead of blending into one big clump.
It’s quick, filling, and actually tastes like something you’d order at a restaurant.
Crispy Garlic Chicken Fried Rice
Cooking Advice
When I make this, I always cook the chicken first and give it space in the pan—it’s the only way to get that crispy edge. I’ve tried rushing it before, and it just turns into steamed chicken… not great.
I also go a little heavy on the garlic because that’s kind of the whole point here. If you’re sensitive to it, you can scale it back, but I wouldn’t skip it.
One thing I’ve learned: don’t dump everything in at once. It’s tempting, but cooking in layers really makes a difference in flavor and texture.
Ingredients Needed
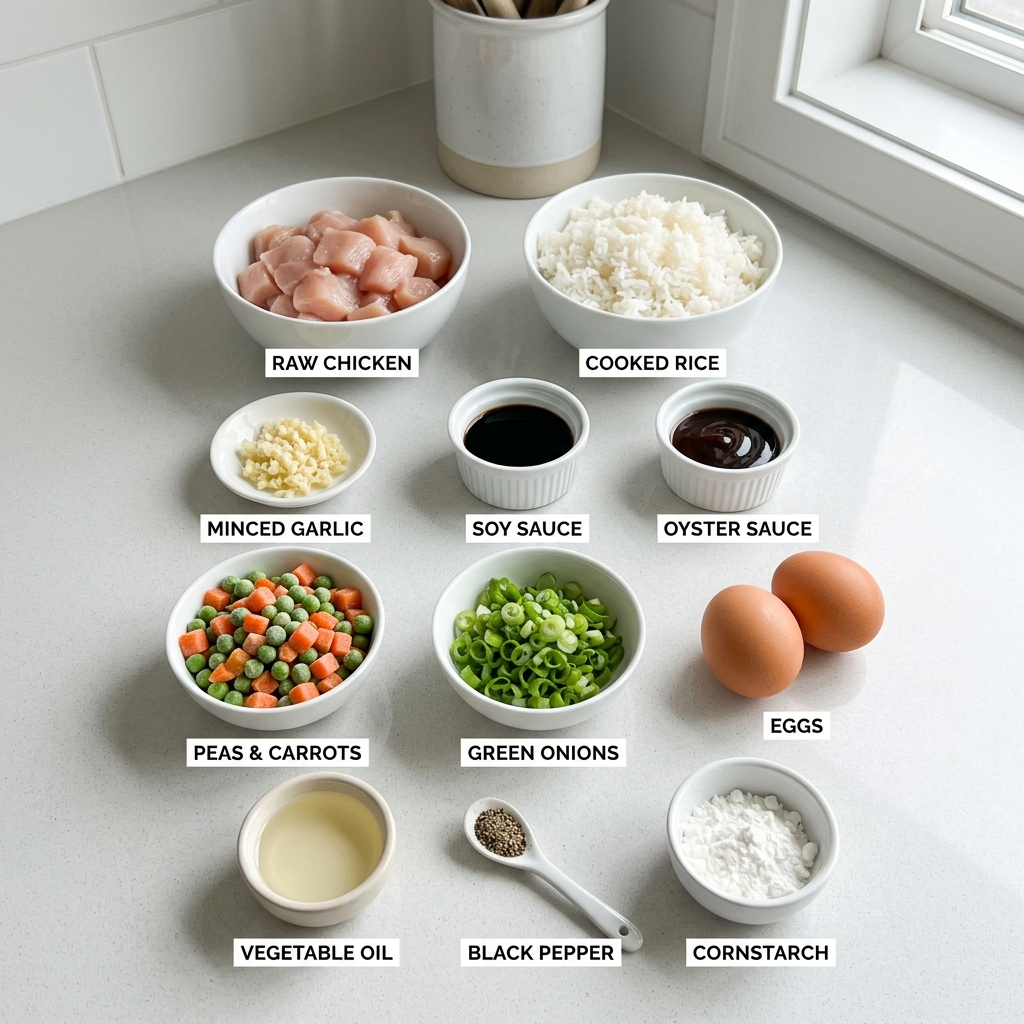
- 2 cups cooked rice (day-old is best)
Fresh rice works, but it can get soft—spread it out to cool if needed - 1 lb chicken breast, diced small
You can swap for chicken thighs if you want more flavor - 4 cloves garlic, minced
I sometimes add an extra clove… no regrets - 2 tbsp oil (olive or sesame)
Sesame oil adds more flavor, olive oil is more neutral - 1 cup peas and carrots
Frozen works great—just thaw them first - 3 green onions, sliced
- 2 eggs, beaten
- 3 tbsp soy sauce
Use low-sodium if you want more control over salt - 1 tbsp oyster sauce (optional)
Adds depth, but still good without it - ½ tsp black pepper
- 1 tsp cornstarch
Helps the chicken crisp up - 1 tbsp water
Step-by-Step Instructions
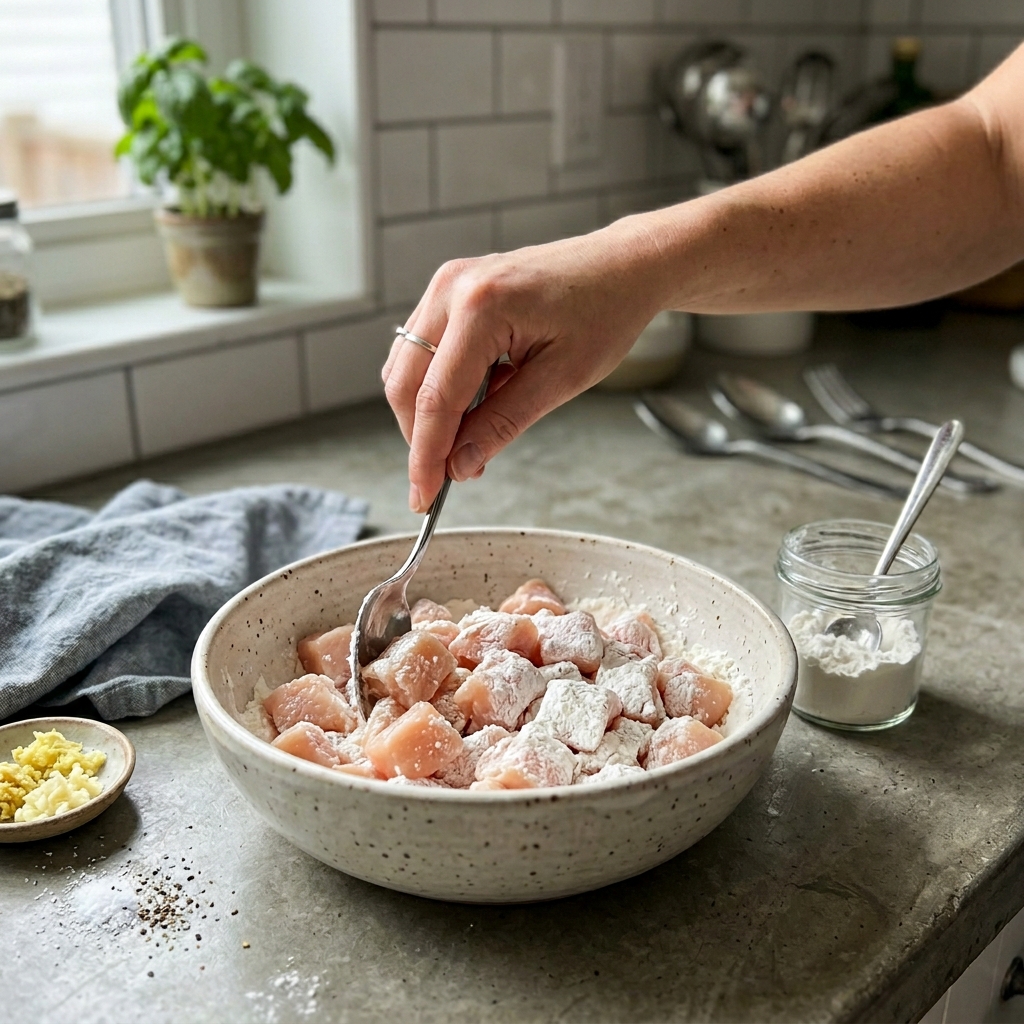
Step 1: Coat the Chicken
Toss the diced chicken with cornstarch and a little water until lightly coated.
It might look a bit messy, but that’s what helps it crisp later.
Step 2: Cook Until Crispy
Heat oil in a pan and cook the chicken until golden and slightly crispy, about 5–7 minutes.
Don’t stir too much—letting it sit is what creates that crust.
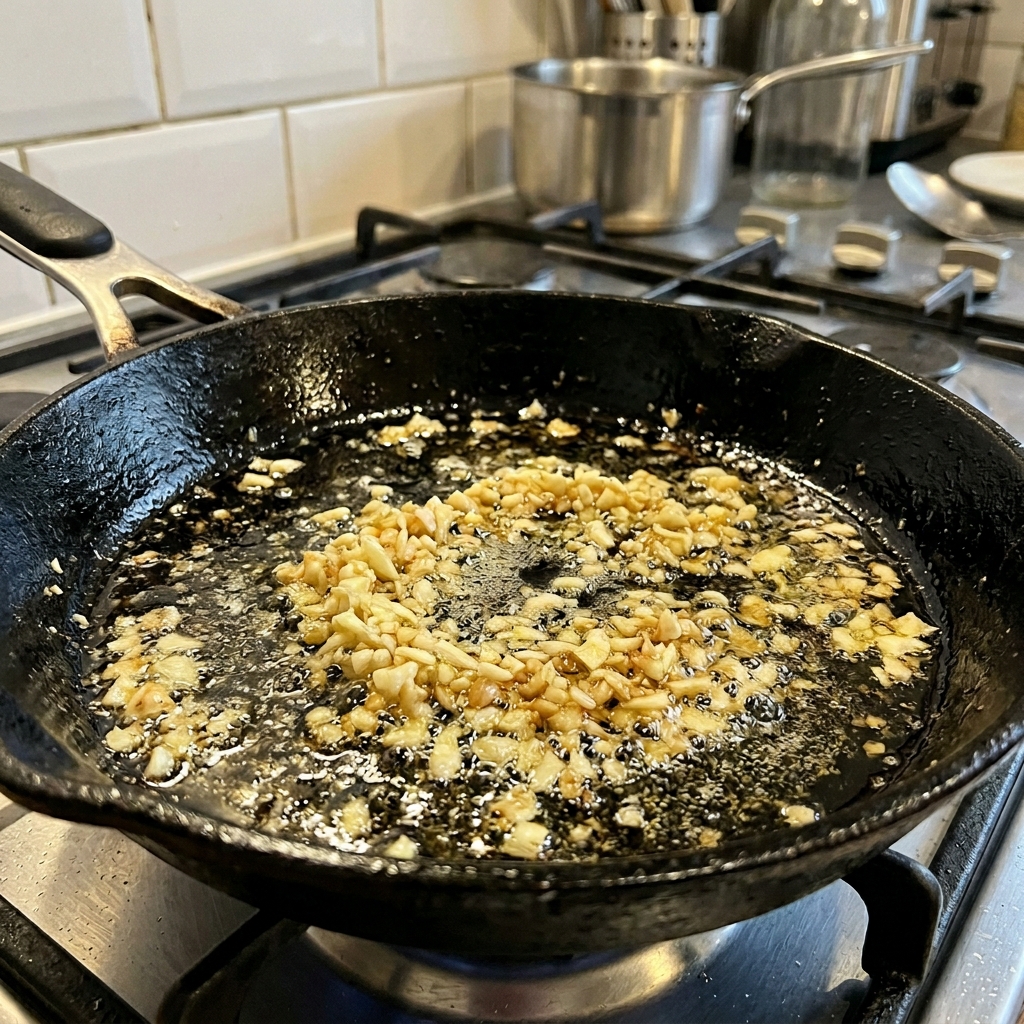
Step 3: Sauté the Garlic
Remove the chicken, then add garlic to the same pan and cook briefly.
This step smells amazing—but it burns fast, so keep an eye on it.
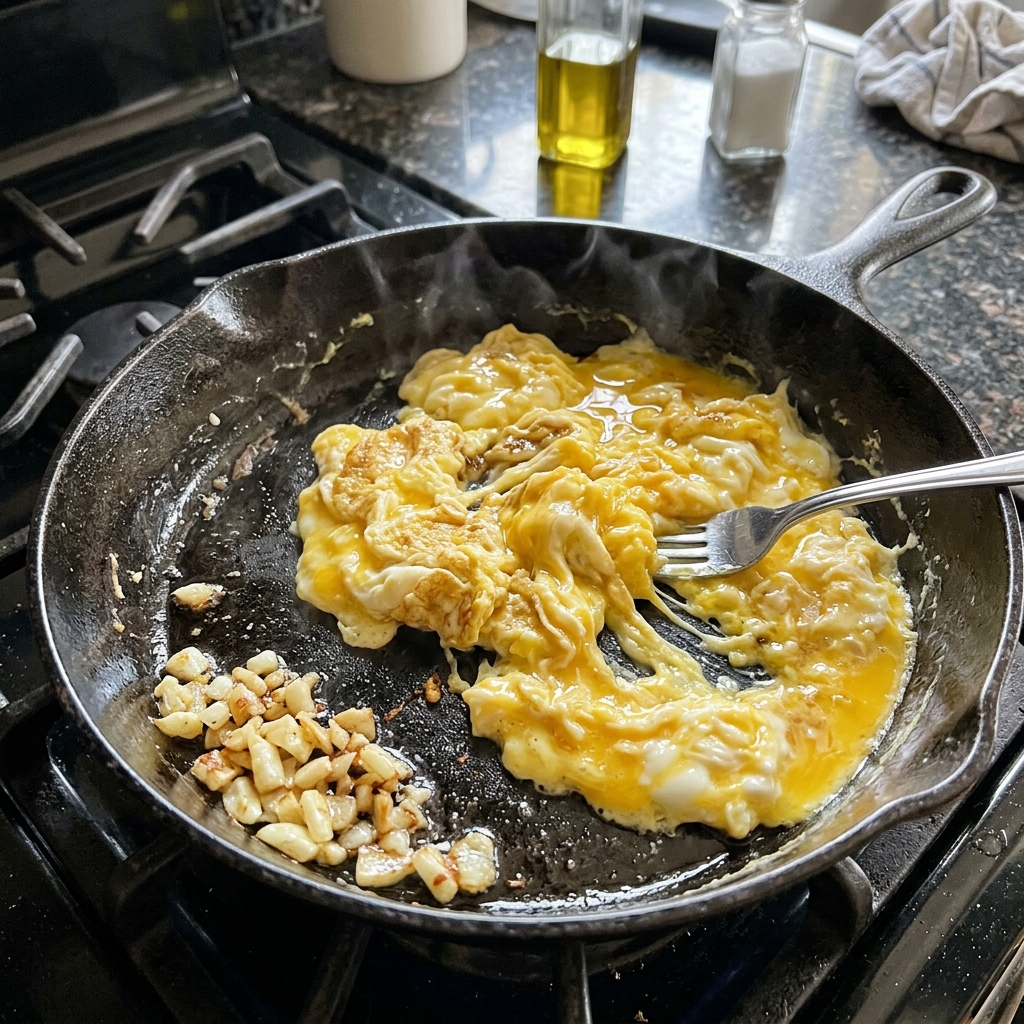
Step 4: Scramble the Eggs
Push the garlic aside and pour in the eggs.
Scramble gently until just set—soft is better than dry here.
Step 5: Add Rice and Veggies
Add the rice, peas, carrots, and green onions.
Break up any clumps—this part can be a little annoying if the rice is stuck together (I’ve definitely struggled with that before).
Step 6: Season and Stir-Fry
Pour in soy sauce and oyster sauce, then stir everything together.
Let it cook for a few minutes so the rice gets slightly toasted.
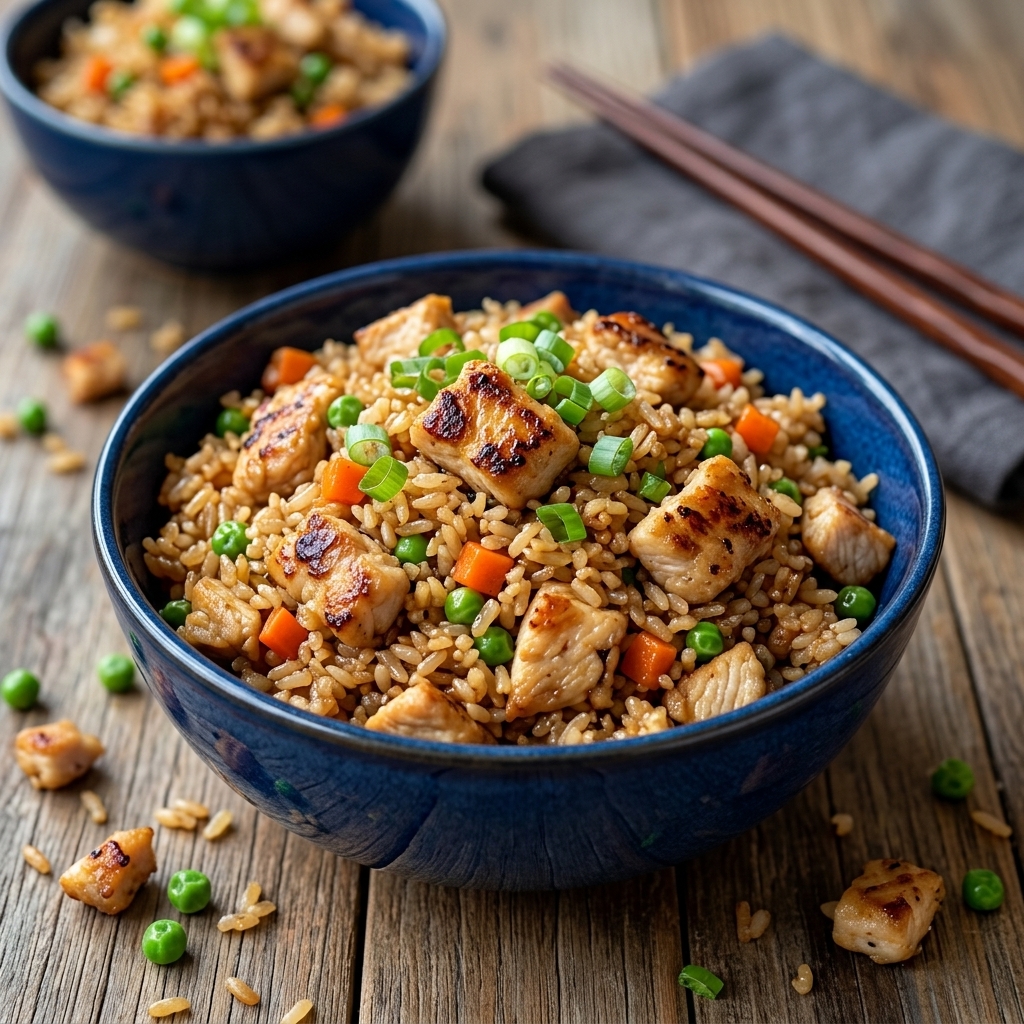
Step 7: Add Chicken Back In
Return the crispy chicken to the pan and toss gently.
Try not to overmix here—you don’t want to lose that crispiness.
Occasions to Serve
This works really well for:
- quick weeknight dinners
- post-workout meals
- lazy weekend lunches
- using up leftovers in the fridge
Cooking Tips
- Use cold rice for the best texture
- Don’t overcrowd the pan when cooking chicken
- Let the rice sit briefly to get a slight crisp
- Taste before adding extra salt—soy sauce does a lot already
Variations
- Swap chicken for shrimp or tofu
- Add chili flakes or sriracha for heat
- Toss in bell peppers or corn for extra crunch
- Use brown rice for a slightly nuttier flavor
Serving Suggestions
- Pair with a simple cucumber salad
- Add a fried egg on top (honestly, this is my favorite way)
- Serve with a light soup on the side
Storage Tips
Store leftovers in the fridge for up to 4 days.
Reheat in a pan if you can—it brings back some of the texture. Microwave works too, just not quite the same.
You might like: Creamy Chicken Pesto Pasta