Easy Beginner Cake Decorating
You pull the perfectly baked cake from the oven. It smells like heaven. But 20 minutes later, you’re staring at a lumpy, crumb-strewn disaster. Sound familiar?
You have the baking part down. But the decorating feels like a high-stakes art project.
Here’s the truth most guides skip: You don’t need a $200 kit or an art degree. You need three things. Chilled cake. The right buttercream consistency. And a simple turntable.
This guide strips away the complexity. We’re pulling from real bakery techniques (including the Meghan Markle piping hack that went viral) and 4-H curriculum standards that teach kids to frost. If a 12-year-old can learn this, so can you.
Learning how to decorate a cake for beginners starts right here.

What You Need to Know Before You Start
Most beginners fail for two reasons. The cake is too warm. Or the frosting is too thin.
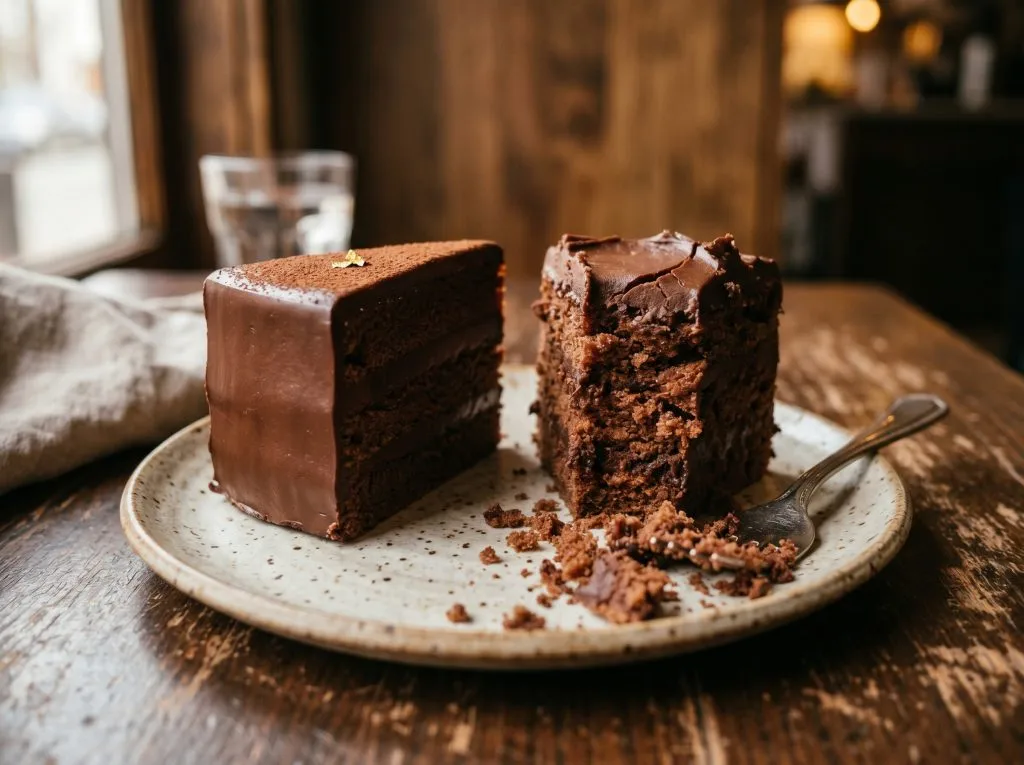
Fix the cake: Bake your layers the day before. Wrap them in plastic. Stick them in the fridge overnight or the freezer for 20 minutes before decorating. Penn State Extension confirms this is the industry standard for crumb control. Cold cake does not crumble.
Fix the frosting: Room temperature butter is not optional. It has to be squidgy to the touch. Cold butter creates lumps. Warm butter melts into a puddle.
Tools You Actually Need (No $200 Kit Required)
You do not need every gadget on the market. But a few cheap tools make the difference between frustration and a cake you’re proud of.
The Buttercream (The “Glue” That Holds It Together)
| Ingredient | US Amount | Metric |
|---|---|---|
| Unsalted butter (room temp) | 1 cup | 226g |
| Powdered sugar | 4 cups | 480g |
| Heavy cream or milk | 2-3 tbsp | 30-45ml |
| Vanilla extract | 1 tsp | 5ml |
Science note: Room temp butter holds air. Cold butter creates lumps. Let your butter sit on the counter for at least an hour before you start.
The Equipment That Does the Heavy Lifting
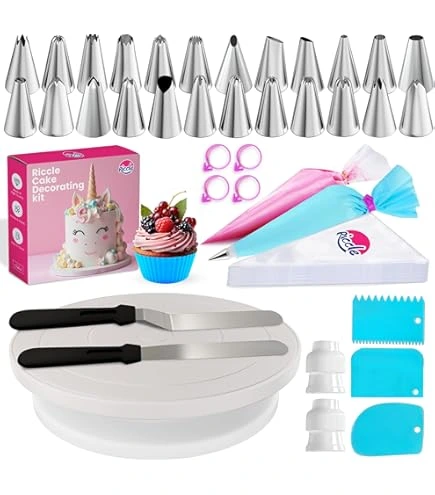
- The spinner: An 11-inch rotating cake turntable. Plastic ones cost around $10. Metal ball-bearings spin smoother but cost more. Start with plastic.
- The leveler: A serrated knife works fine. But a Wilton adjustable leveler costs under $10 and makes the top perfectly flat.
- The smoother: An angled offset spatula plus a plastic bench scraper. The scraper is what gives you that glass-smooth finish.
- The piping set: 12-inch disposable piping bags, a coupler, and two tips. Wilton 1M for stars. Wilton 2A for dots and writing.
- The foundation: A cardboard cake circle the same size as your cake. You decorate on this, not on your nice plate.
The Kootek 71PC kit is currently the top-rated beginner set on Amazon. It has 4.6 stars from over 13,000 reviews. But you can also buy just the pieces above for under $30 total.
How to Decorate a Cake for Beginners: Step by Step
Follow these steps in order. Do not skip the chilling time. That is where the magic happens.
Step 1: Prep the Canvas (Freeze and Level)
Place your naked cake layers in the freezer for 20 minutes. You want them firm to the touch but not frozen solid.
Once chilled, use your serrated knife or leveler to cut the dome off the top of each layer. You want flat, even surfaces. Eat the domes. That’s the baker’s tax.
When to move on: The cake feels cold and firm. Your knife cuts cleanly without tearing.
Step 2: The “Glue” Layer (Crumb Coat)
This step looks wrong. That is fine.
Apply a very thin layer of frosting all over the cake. Use your offset spatula to spread it thin. Crumbs will get into the frosting. That is the entire point. You are trapping the crumbs so they do not ruin your final coat.
When to move on: The whole cake is covered in a thin, ugly, crumb-filled layer of frosting.
Chill for 15 minutes.
Step 3: The Final Coat (Smooth Operator)
Take the chilled cake out of the fridge. Apply a thick layer of fresh frosting.
Hold your bench scraper flush against the side of the cake. Spin the turntable slowly. The scraper will shave off the extra frosting and leave a smooth surface behind.
When to move on: The scraper comes away clean. The edge of the frosting is sharp, not rounded. You hear a clean schhhhk sound as the scraper moves.
Pro tip: Keep a mug of hot water nearby. Dip your offset spatula in the water and wipe it dry before each swipe. The heat helps you get a glass-smooth finish.
Step 4: The Piping Hack (No Special Skills Required)
You do not need to be an artist to pipe frosting.
Fill a piping bag with your remaining buttercream. Snip 1/2 inch off the tip. Do not attach a metal tip for this hack. Just the plastic bag.
Pipe thick swirls of frosting around the top edge of the cake. Or pipe five big dollops in a circle and connect them. Or just pipe random swoops. The rustic look is trendy right now on TikTok and Instagram.
When to move on: The top of the cake has the pattern you want. Nothing looks perfect. That is the style.
Step 5: Adding Texture and Sprinkles
This is where your cake goes from “fine” to “people will ask where you bought it.”
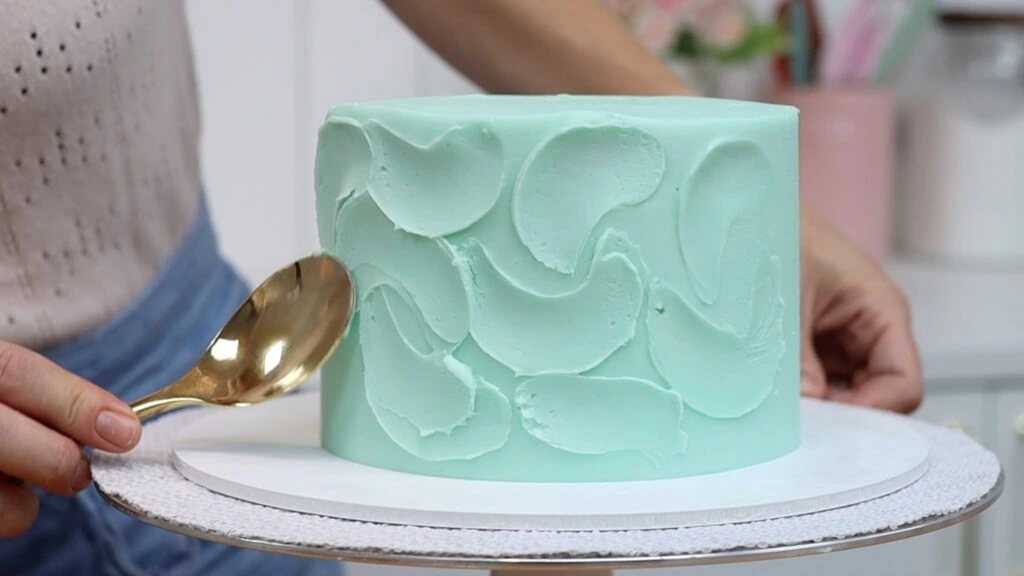
Use the back of a spoon to create deep swoops in the side frosting. Or press a fork into the frosting in parallel lines. Or just dump sprinkles over the top.
The rule: Add sprinkles immediately after frosting. If the frosting crusts, the sprinkles bounce off.
Real 2026 trends show that “rustic” and “textured” finishes are more popular than perfectly smooth cakes. Imperfections look intentional. So relax.
Expert Tips and Common Mistakes
Here is where most beginners get stuck. Read these before you start.
Mistake 1: Frosting is too soft and slides off the cake.
Fix: Add 1/2 cup more powdered sugar. Mix well. The frosting should hold a stiff peak when you lift the spatula.
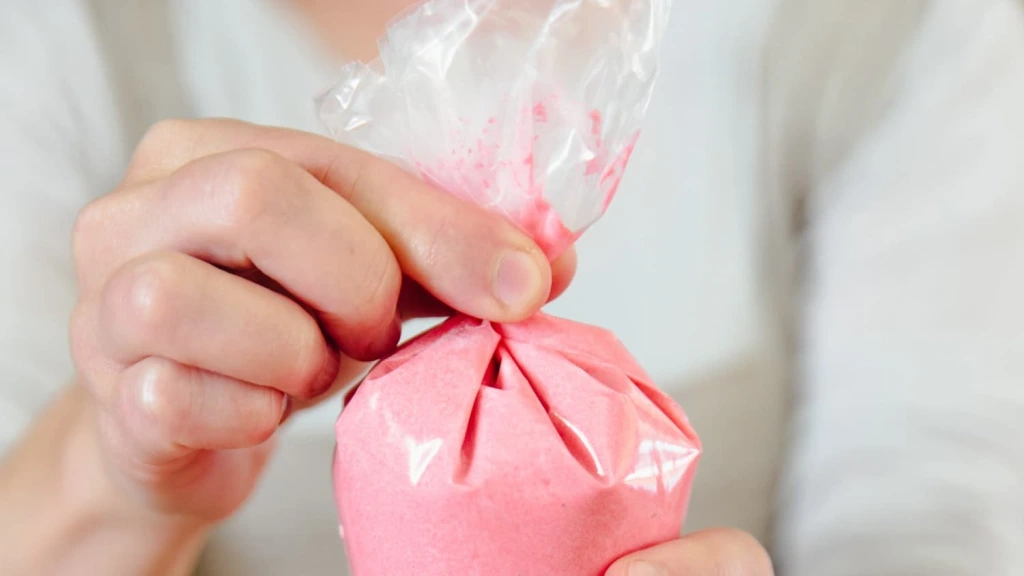
Mistake 2: Air bubbles in the piping bag.
Fix: Twist the top of the bag closed. Squeeze gently until frosting comes out smooth. Then aim at the cake. If you start with a bag full of air bubbles, your first few swirls will pop.
Mistake 3: You skipped the crumb coat because you were in a hurry.
Fix: Go back. Seriously. There is no shortcut here. The crumb coat is not optional.
Mistake 4: You tried to decorate a warm cake.
Fix: Put it back in the freezer for 20 minutes and go wash your dishes. Warm cake melts frosting into a greasy, slippery mess.
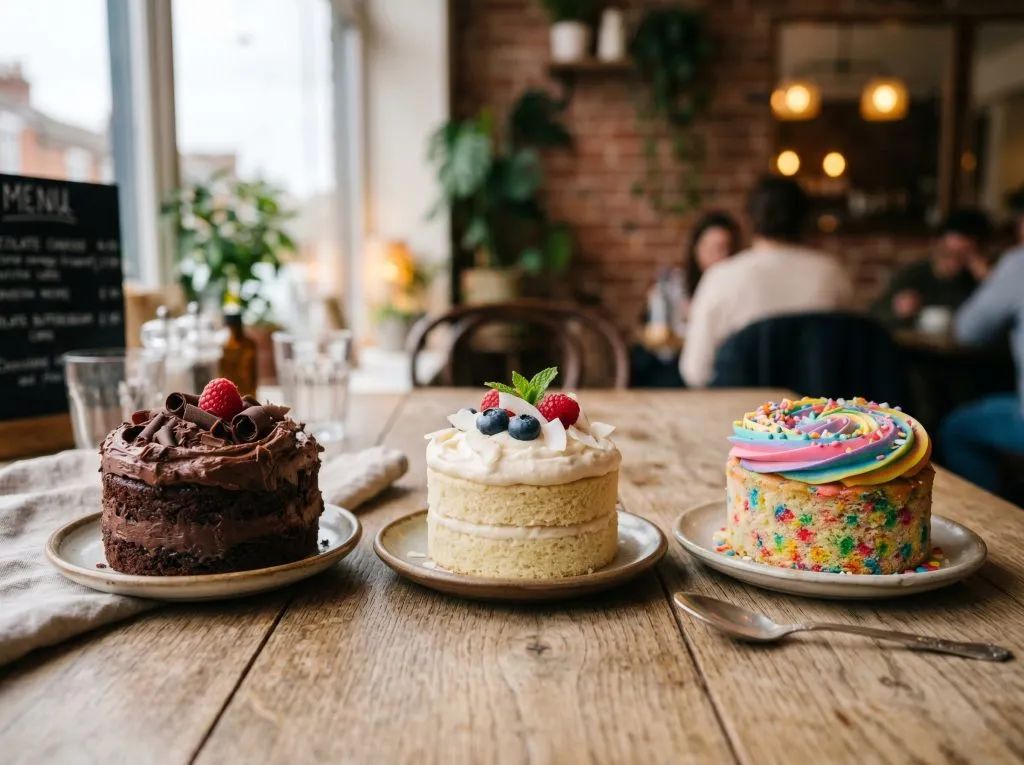
3 Easy Variations to Try
Once you master the basic method, try these popular twists.
Chocolate Buttercream
Replace 1/2 cup of powdered sugar with 1/2 cup of unsweetened cocoa powder. Sift both together so there are no lumps. That is it.
Vegan Buttercream
Use plant-based butter. Country Crock plant butter works best. Full-fat oat milk works better than almond milk. The results are not identical to dairy buttercream, but they are close enough for most people.
Rainbow Swirl (The 2026 Trend)
Divide your frosting into three bowls. Dye each batch a different pastel color. Spoon the colors side by side onto a sheet of plastic wrap. Roll the plastic wrap into a log. Snip the end off the log and drop the whole thing into a piping bag. One bag gives you a rainbow swirl.
Storage, Make-Ahead, and Freezing
The best timeline for beginners:
- Day before: Bake your cake layers. Let them cool completely. Wrap tightly in plastic. Store in the fridge or freezer.
- Morning of: Make your buttercream. Crumb coat the cold cake. Put it back in the fridge for at least an hour.
- One hour before serving: Final coat. Decorate. Add sprinkles.
How long does a decorated cake last?
At room temperature under a cake dome: 3 days.
In the fridge: 5 days. But take it out an hour before serving so the frosting softens.
Can you freeze a decorated cake?
Yes. But only if you have not added fresh fruit or wet fillings. Freeze the cake uncovered for one hour until the frosting hardens. Then wrap tightly in plastic and then foil. It keeps for up to three months.
What to Serve With Your Cake
A decorated cake is the star. But these pairings make it better.
- Vanilla bean ice cream. The cold creaminess contrasts with the soft cake.
- Strong black coffee. The bitterness cuts the sugar. This is why coffee cake exists.
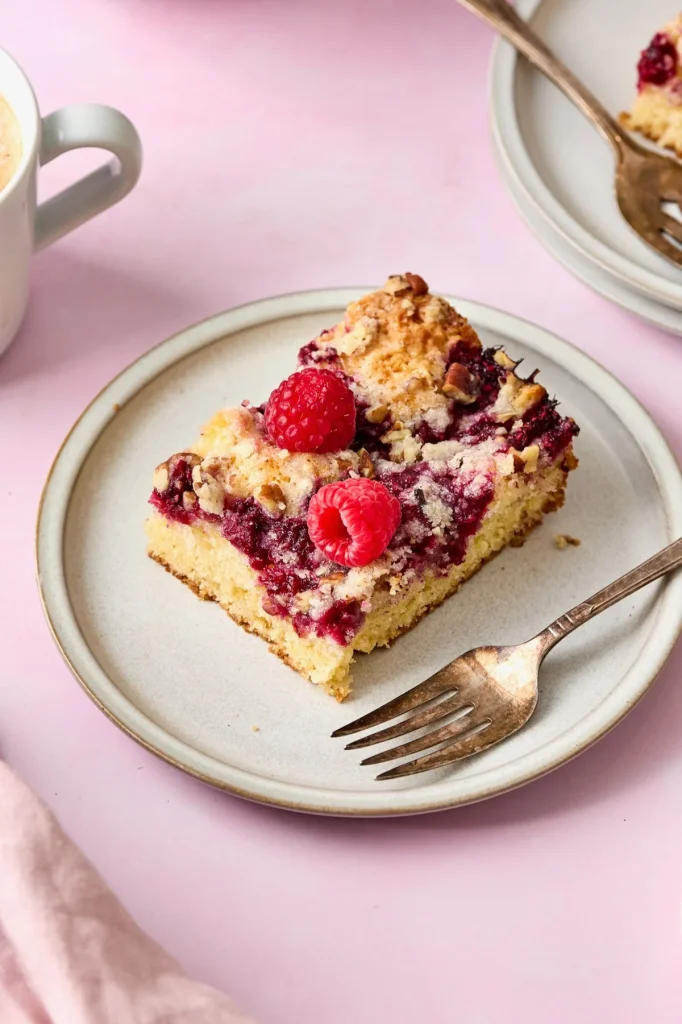
- Fresh berries. A handful of raspberries on the plate adds color and acidity.
Frequently Asked Questions
These are the real questions home bakers ask on Reddit and in recipe comments.
Why are there crumbs in my final frosting?
You skipped the crumb coat. Or your cake was too warm when you started. Go back to Step 2. Chill the cake. Try again.
Do I really need a turntable?
Yes. Even a $10 plastic one is better than walking around the cake. A turntable lets you hold the scraper still and spin the cake. That is how you get smooth sides. Without one, you will chase the cake around the counter.
Can I decorate a warm cake?
Never. Warm cake melts frosting. You will end up with greasy, sliding frosting and a mess of crumbs. Freeze your cake. Every time.
What is a naked cake?
A naked cake is a style where you leave the sides partially bare. You can see the cake layers and filling through the frosting. It is very forgiving for beginners because no one expects smooth sides. You just smear on a thin layer and call it done.
How do I fix frosting that tastes like straight powdered sugar?
Add a pinch of fine sea salt. Seriously. Salt cuts the sweetness and brings out the vanilla. Start with 1/4 teaspoon and taste.
My piping bag burst. What happened?
You overfilled it. Fill piping bags only halfway. Twist the top closed. If you fill to the top, the pressure has nowhere to go except out the sides.
Recipe Card: The Ultimate Beginner’s Buttercream
Description: A stable, silky buttercream that does not crumble or slide off your cake.
Prep Time: 10 minutes
Yield: 3 cups (enough to frost one 8-inch layer cake)
Ingredients:
- 1 cup (226g) unsalted butter, room temperature
- 4 cups (480g) powdered sugar
- 2-3 tbsp heavy cream or milk
- 1 tsp vanilla extract
- Pinch of fine sea salt
Instructions:
- Beat the room temperature butter with a mixer on medium speed for 2 minutes until pale and fluffy.
- Add powdered sugar one cup at a time, mixing on low so sugar does not fly everywhere.
- Add vanilla, salt, and 2 tablespoons of cream. Beat on medium for 3 minutes.
- Check consistency. Add the third tablespoon of cream if the frosting is too stiff to spread.
- Use immediately or store in an airtight container in the fridge for up to two weeks.
Notes: Bring refrigerated frosting back to room temperature and re-whip for 2 minutes before using.
You Got This
Cake decorating is a skill built on cold cake and stiff buttercream. Not magic. Not talent. Just a few techniques that anyone can learn.
Your first cake will not look like a bakery cake. That is fine. Mine did not either. But it will look a hundred times better than your last cake. And the one after that will look even better.
Drop a comment below with a photo of your first swirl. Or tag me on Pinterest. I want to see what you make.
And if the crumb coat saved your sanity? Rate this guide with five stars. It helps other beginners find it.
Now go freeze your cake. You are ready.